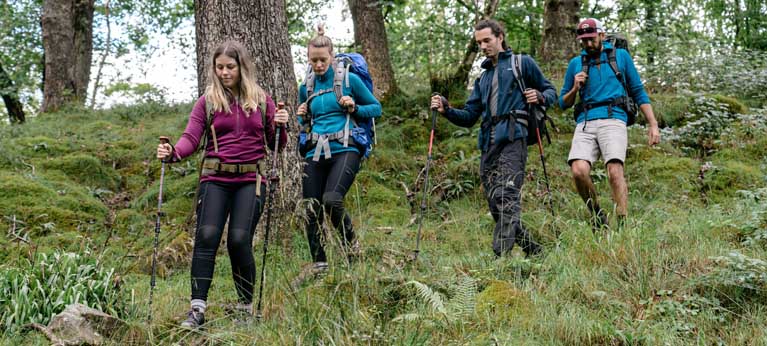
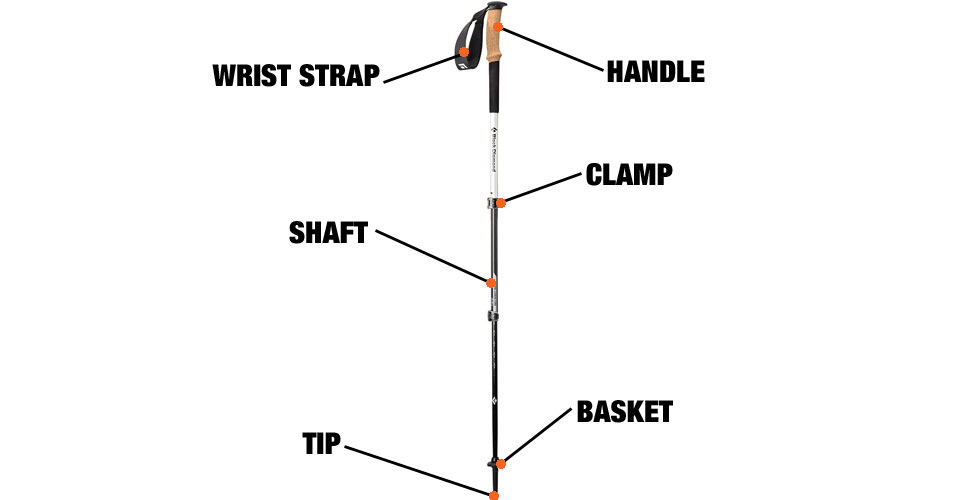


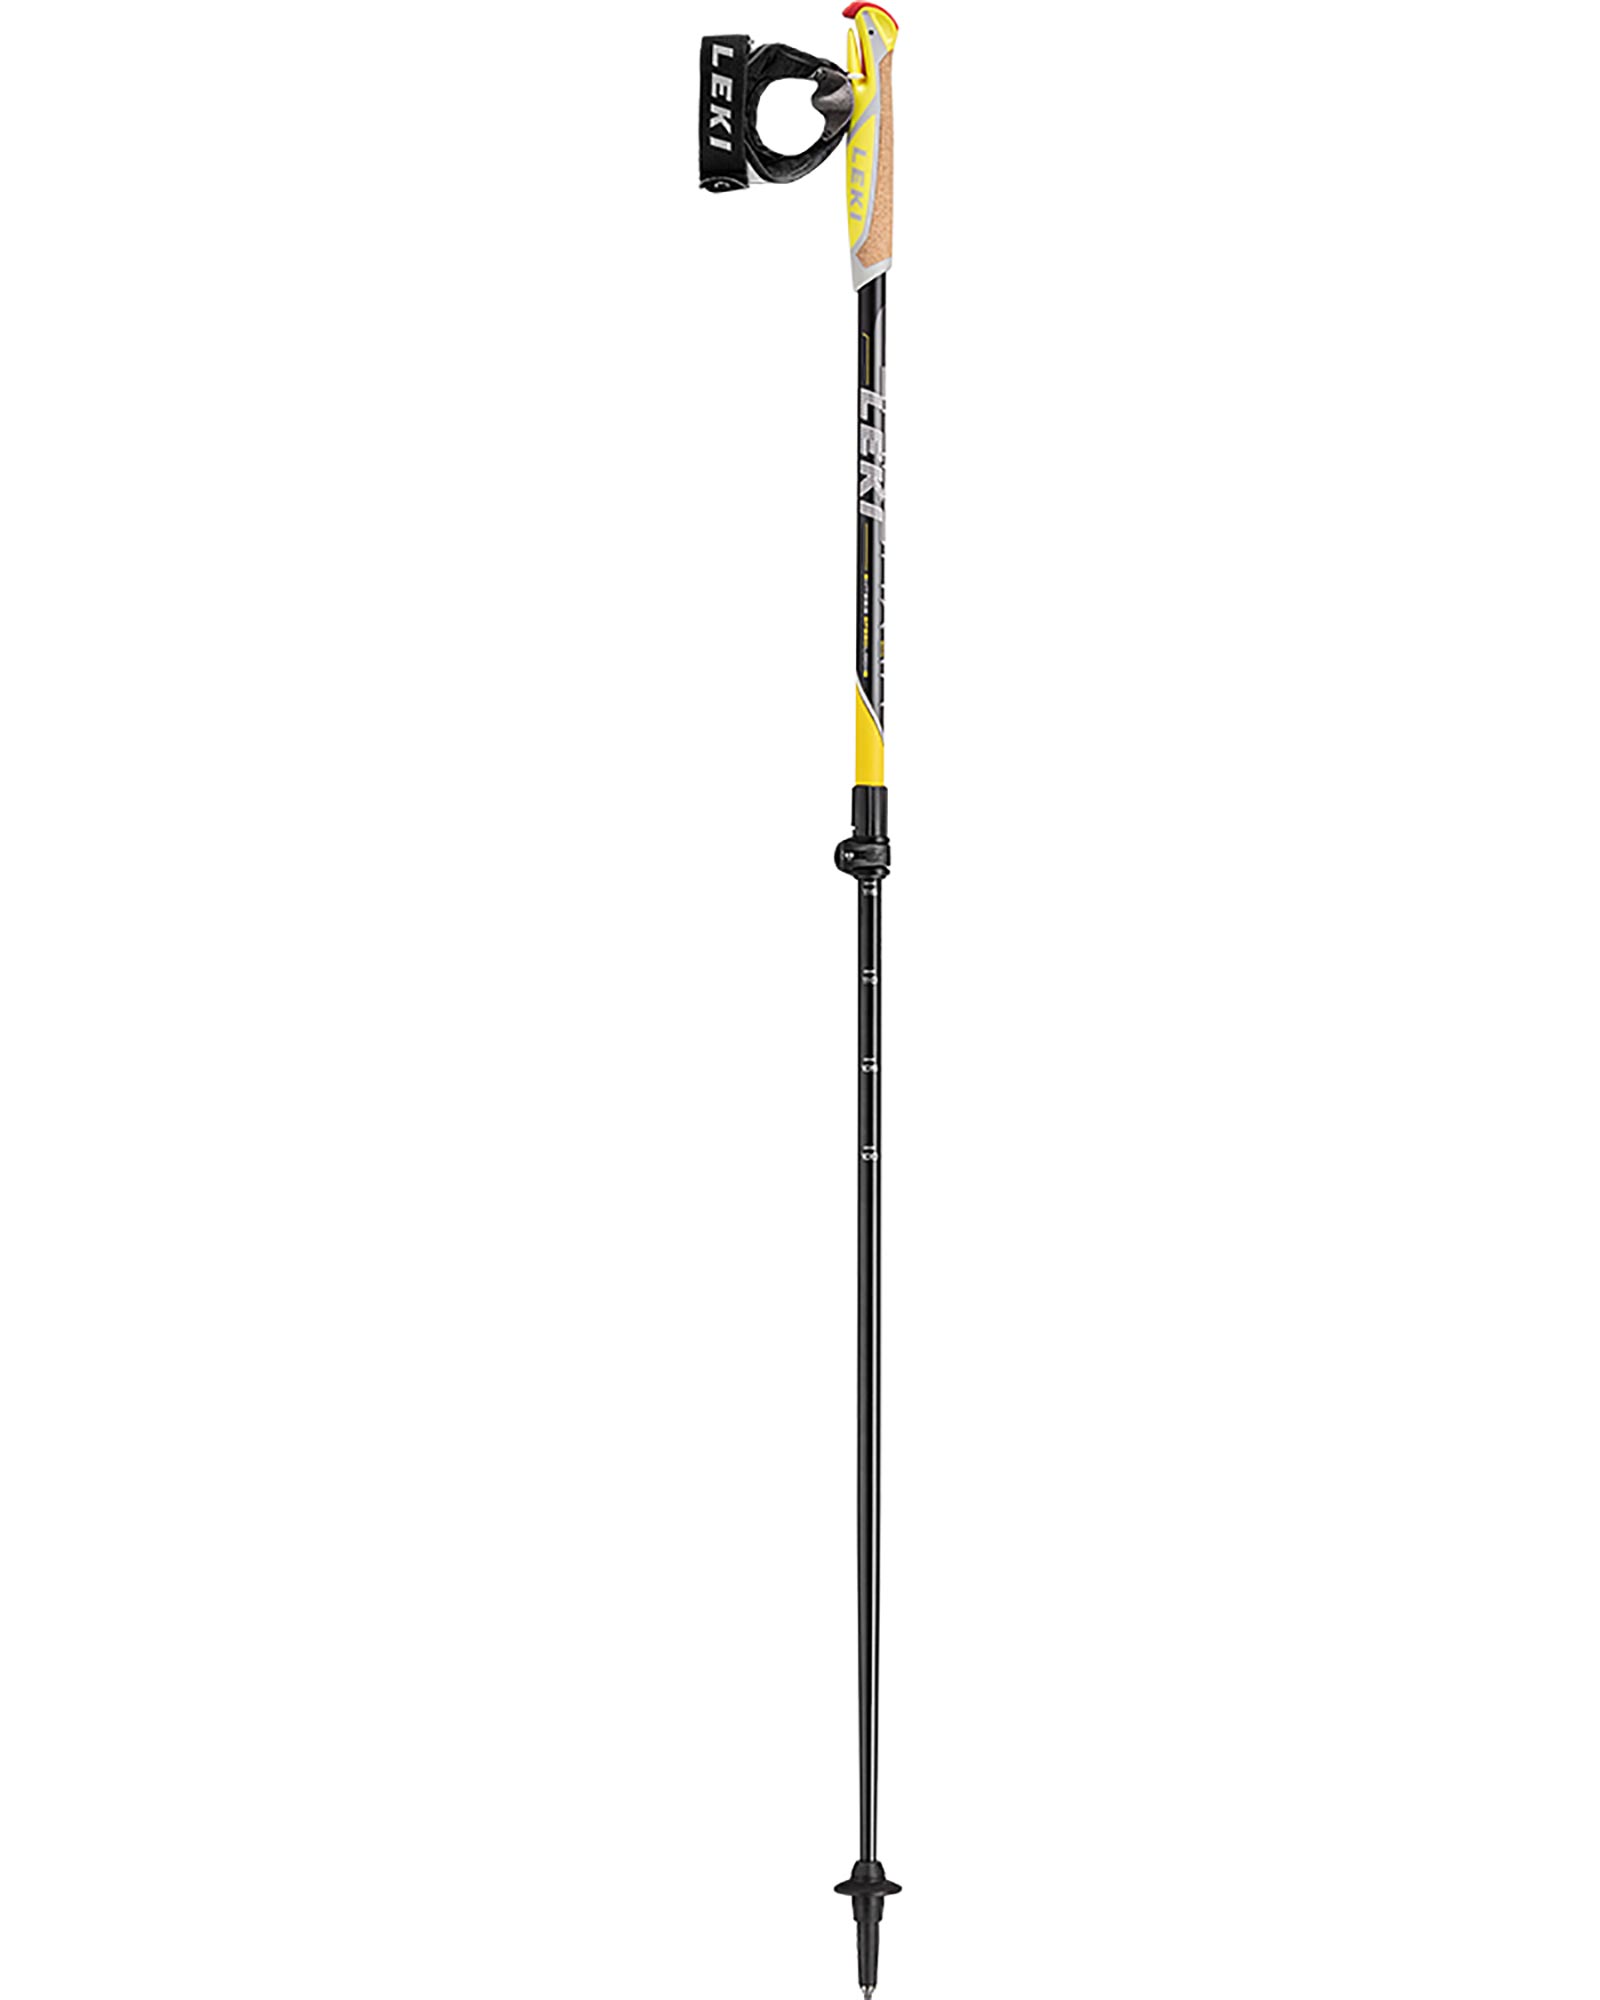
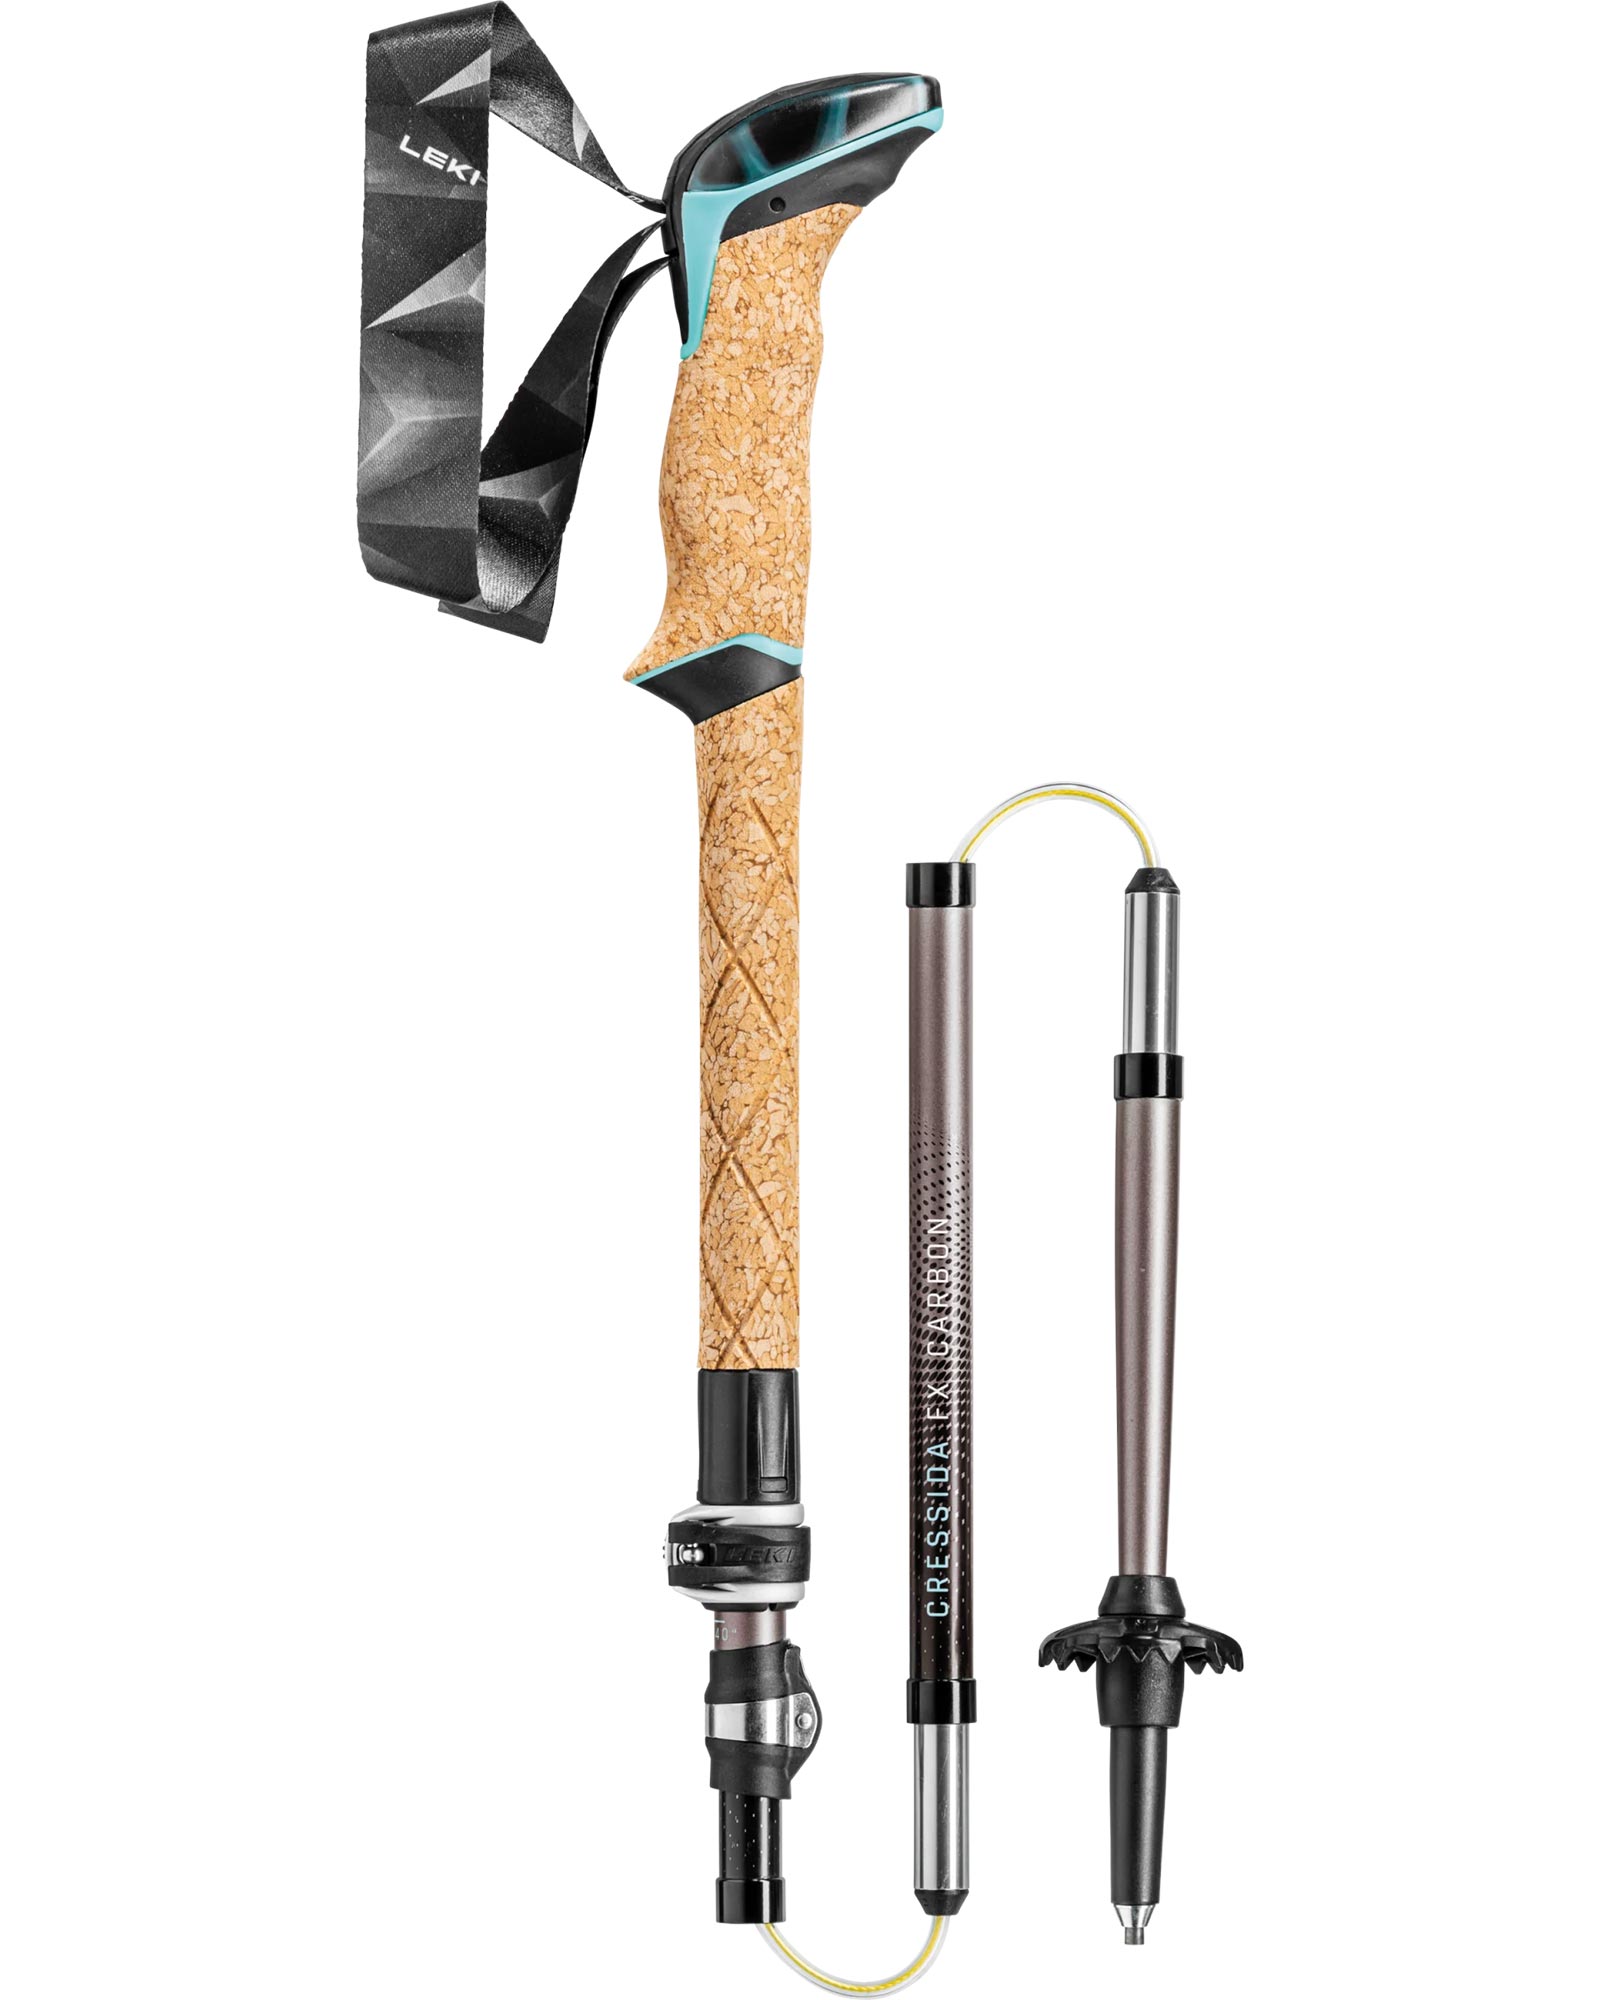
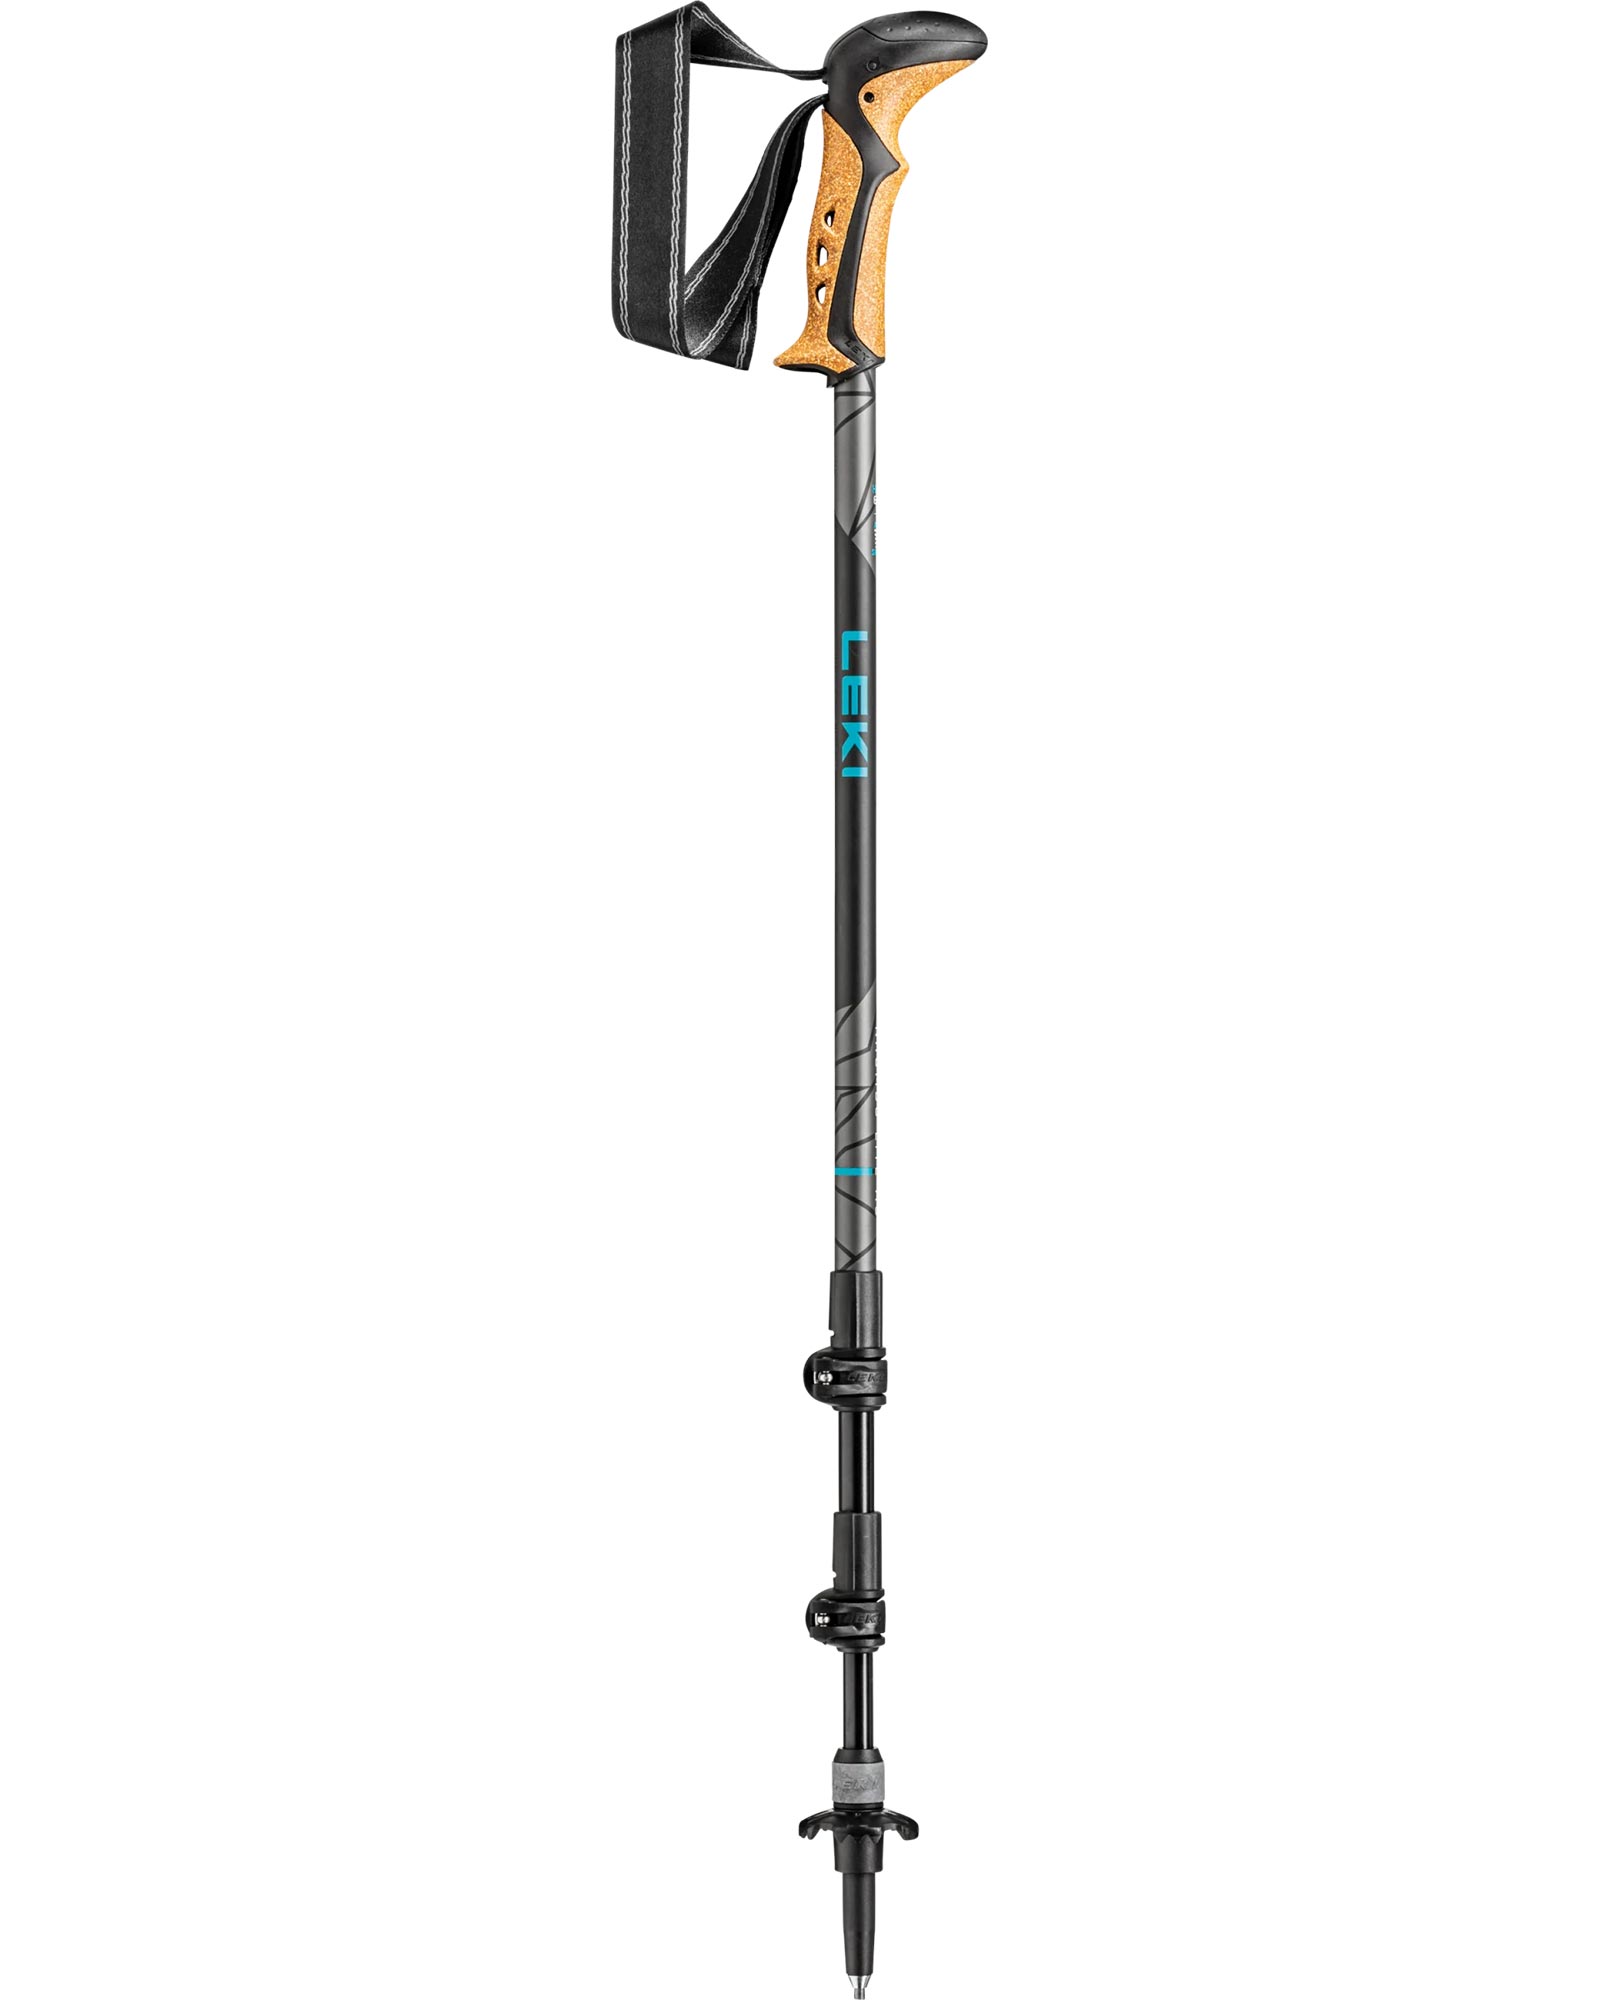
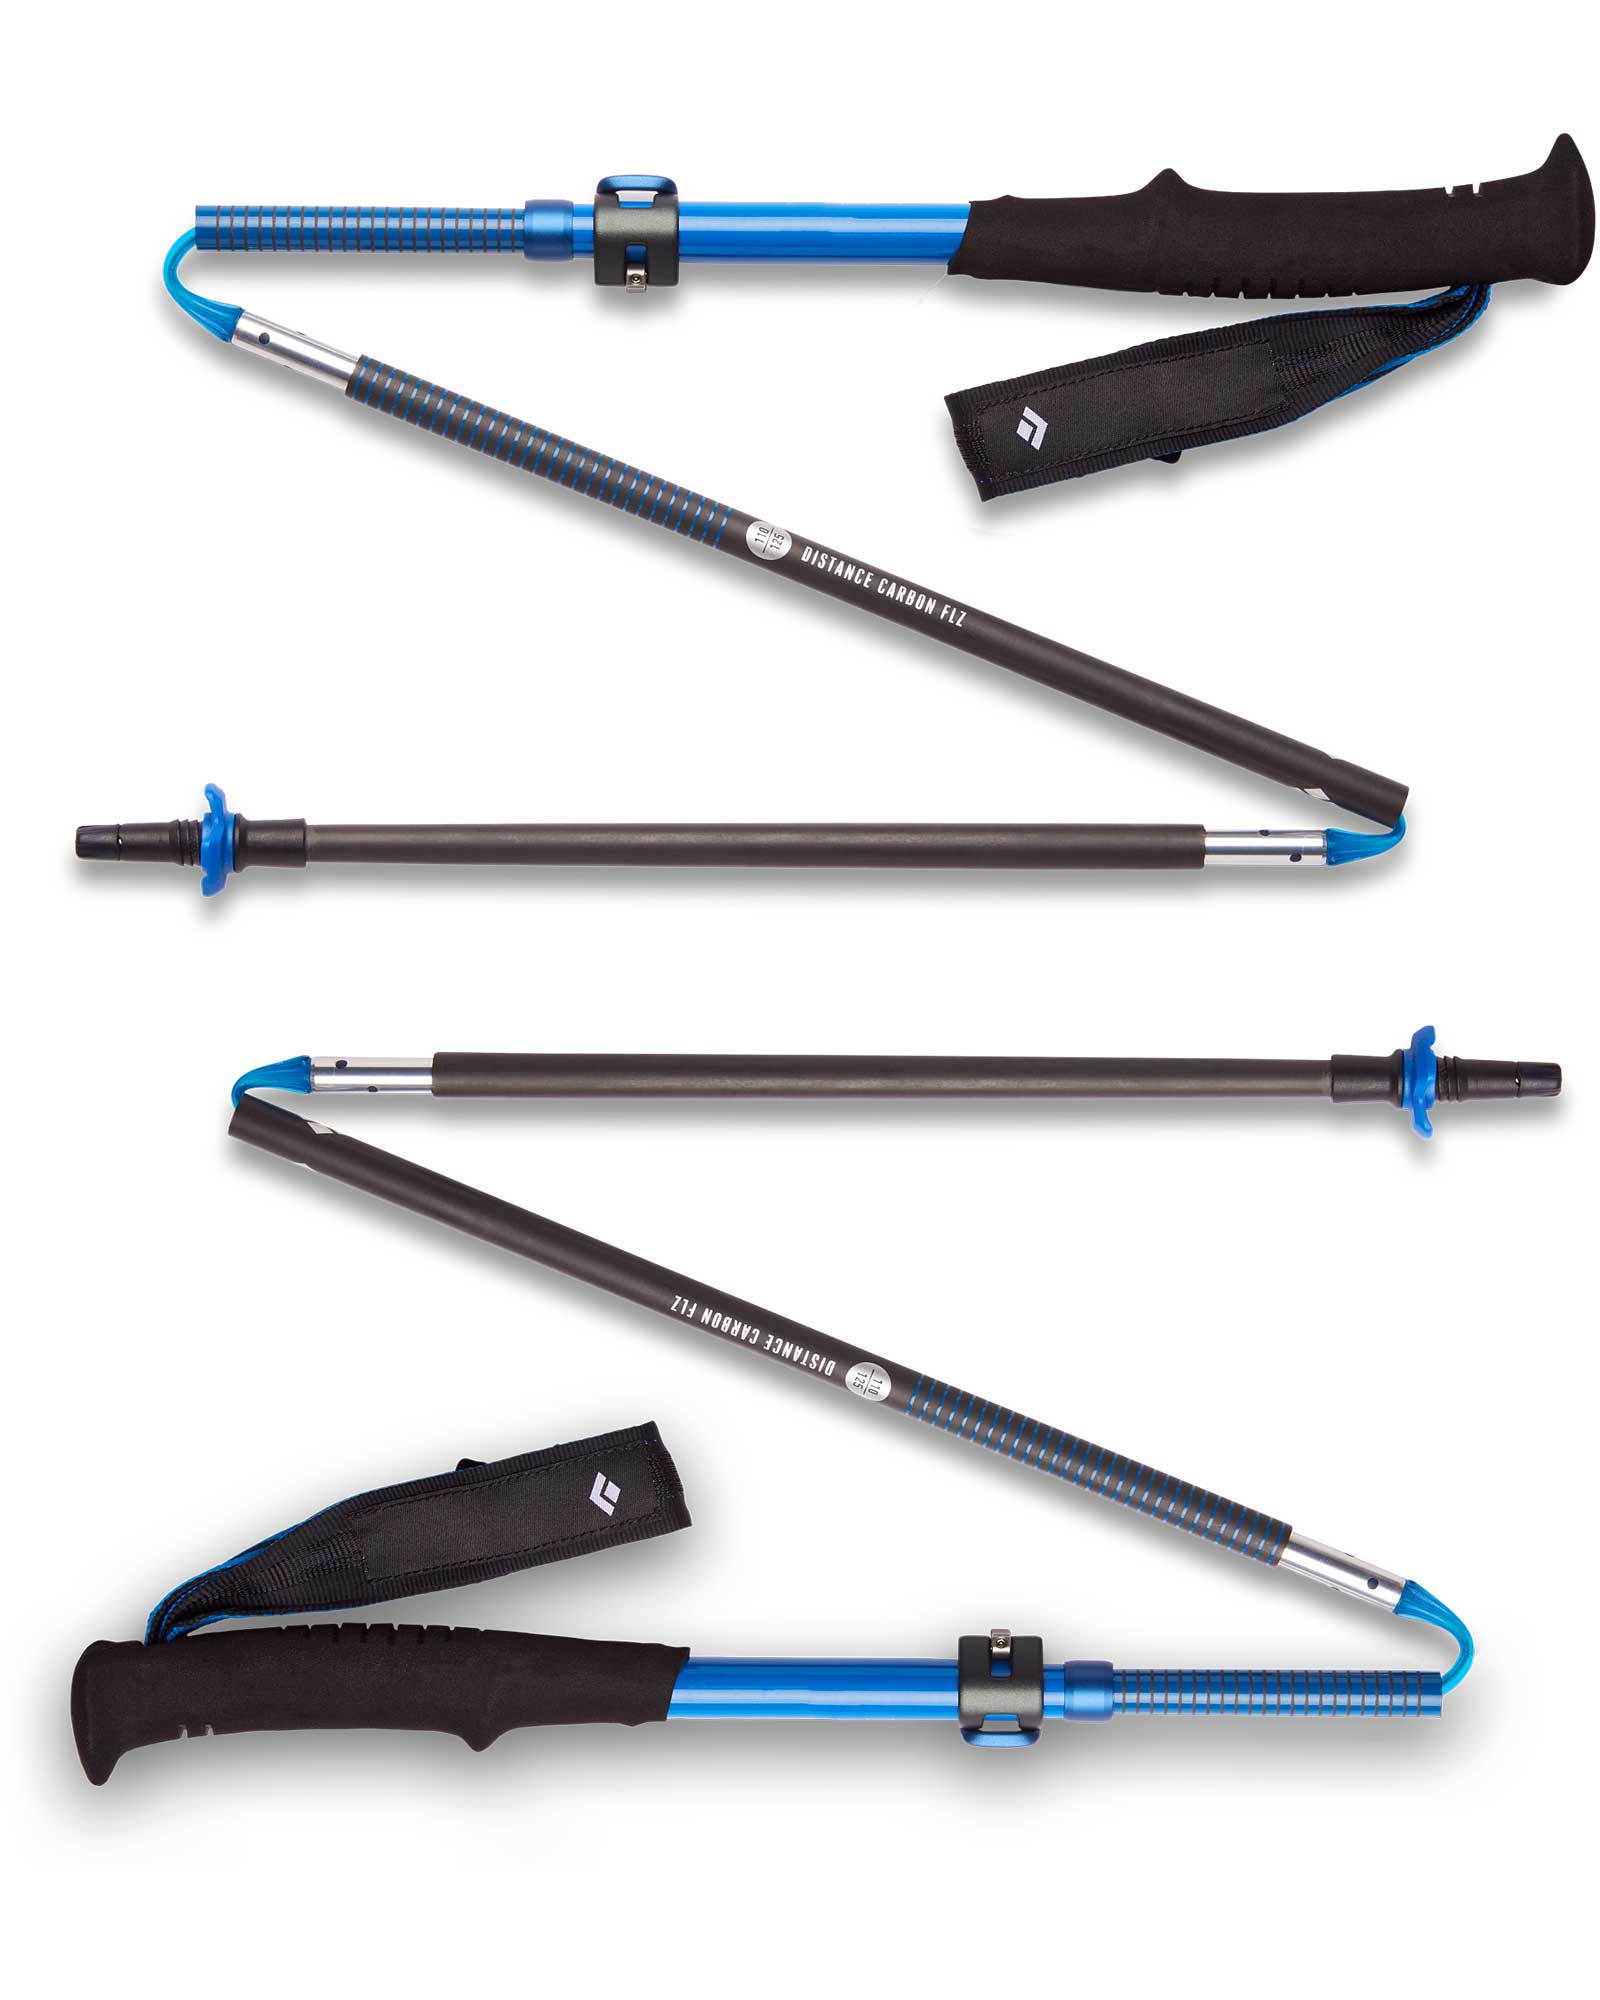
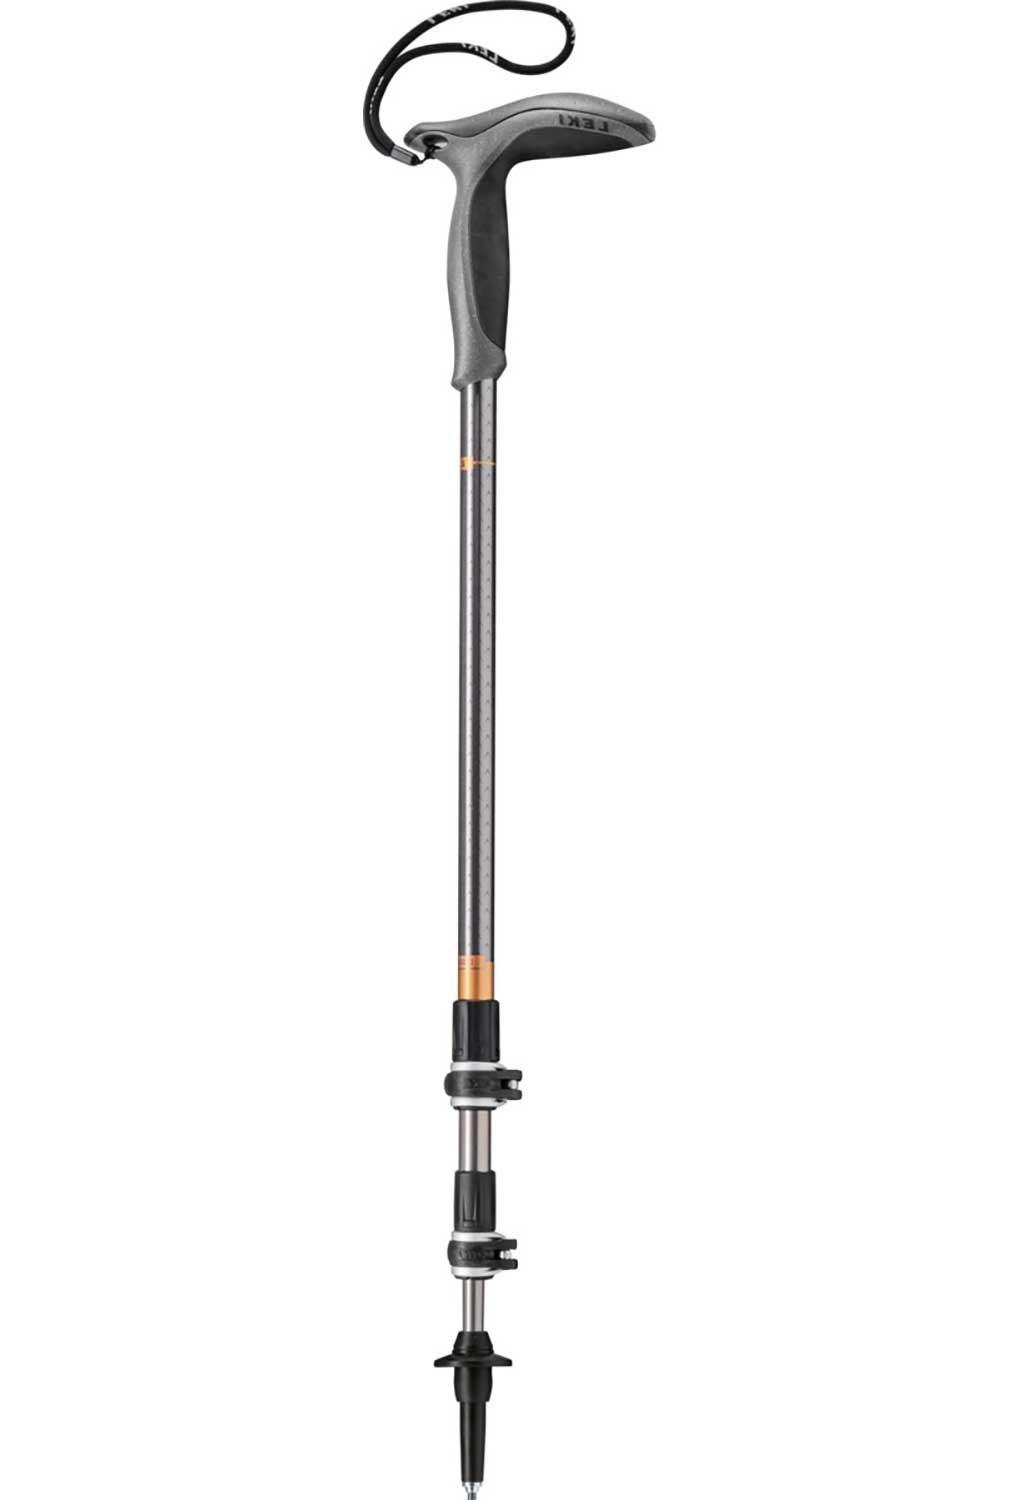
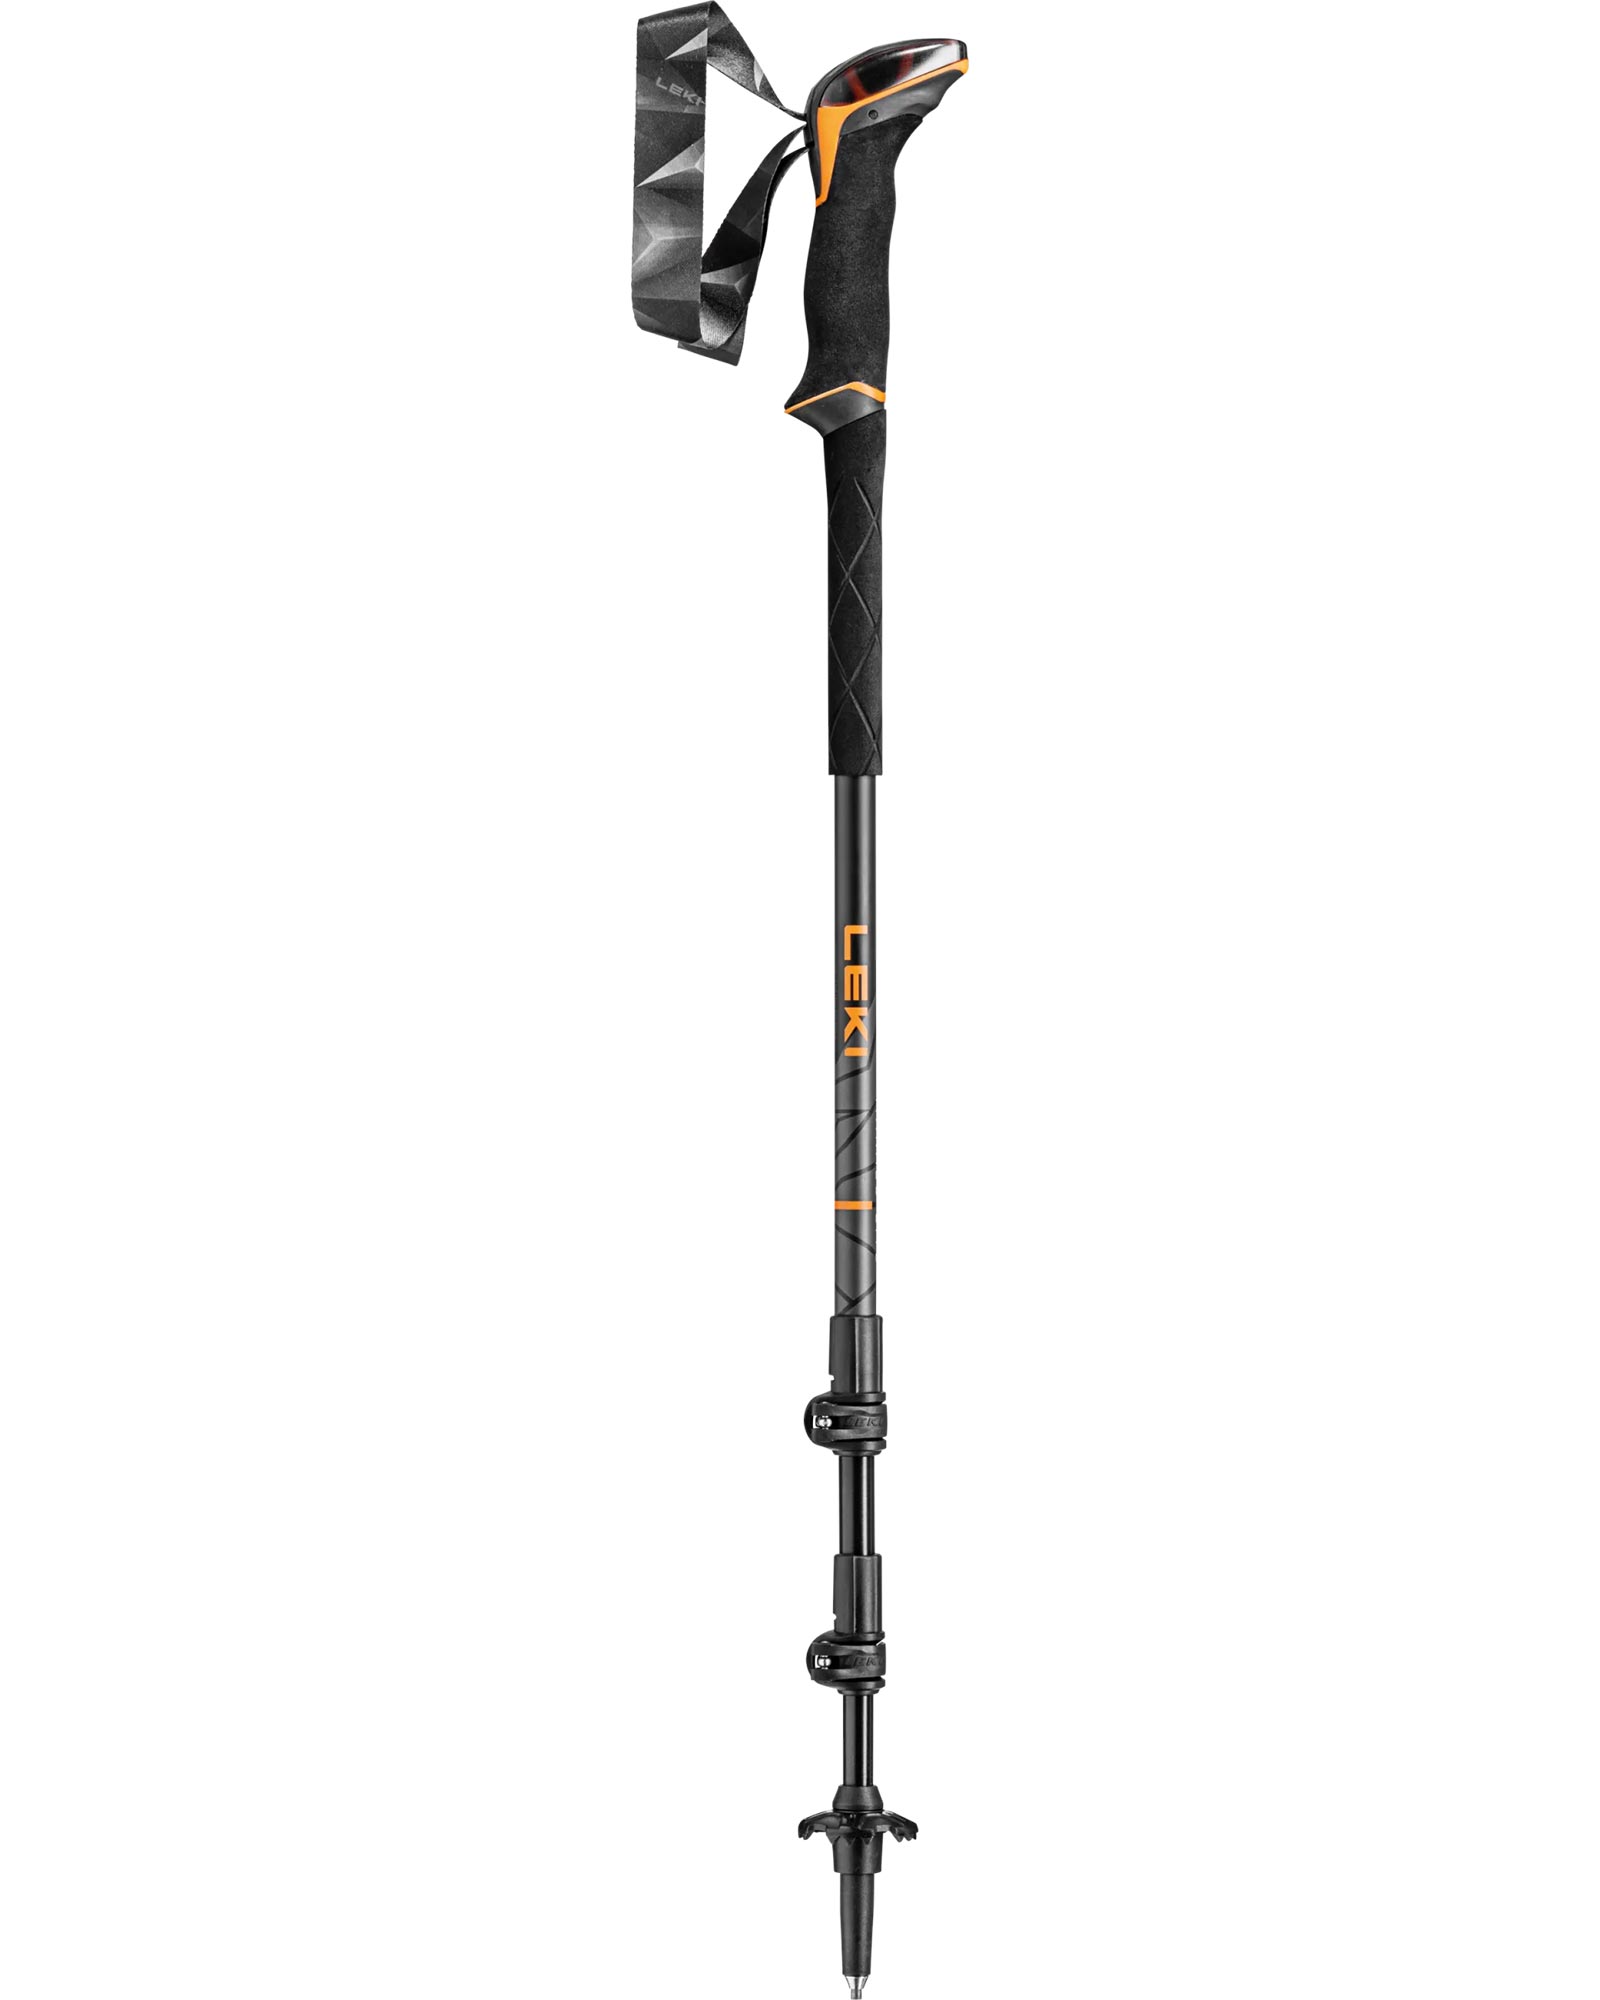
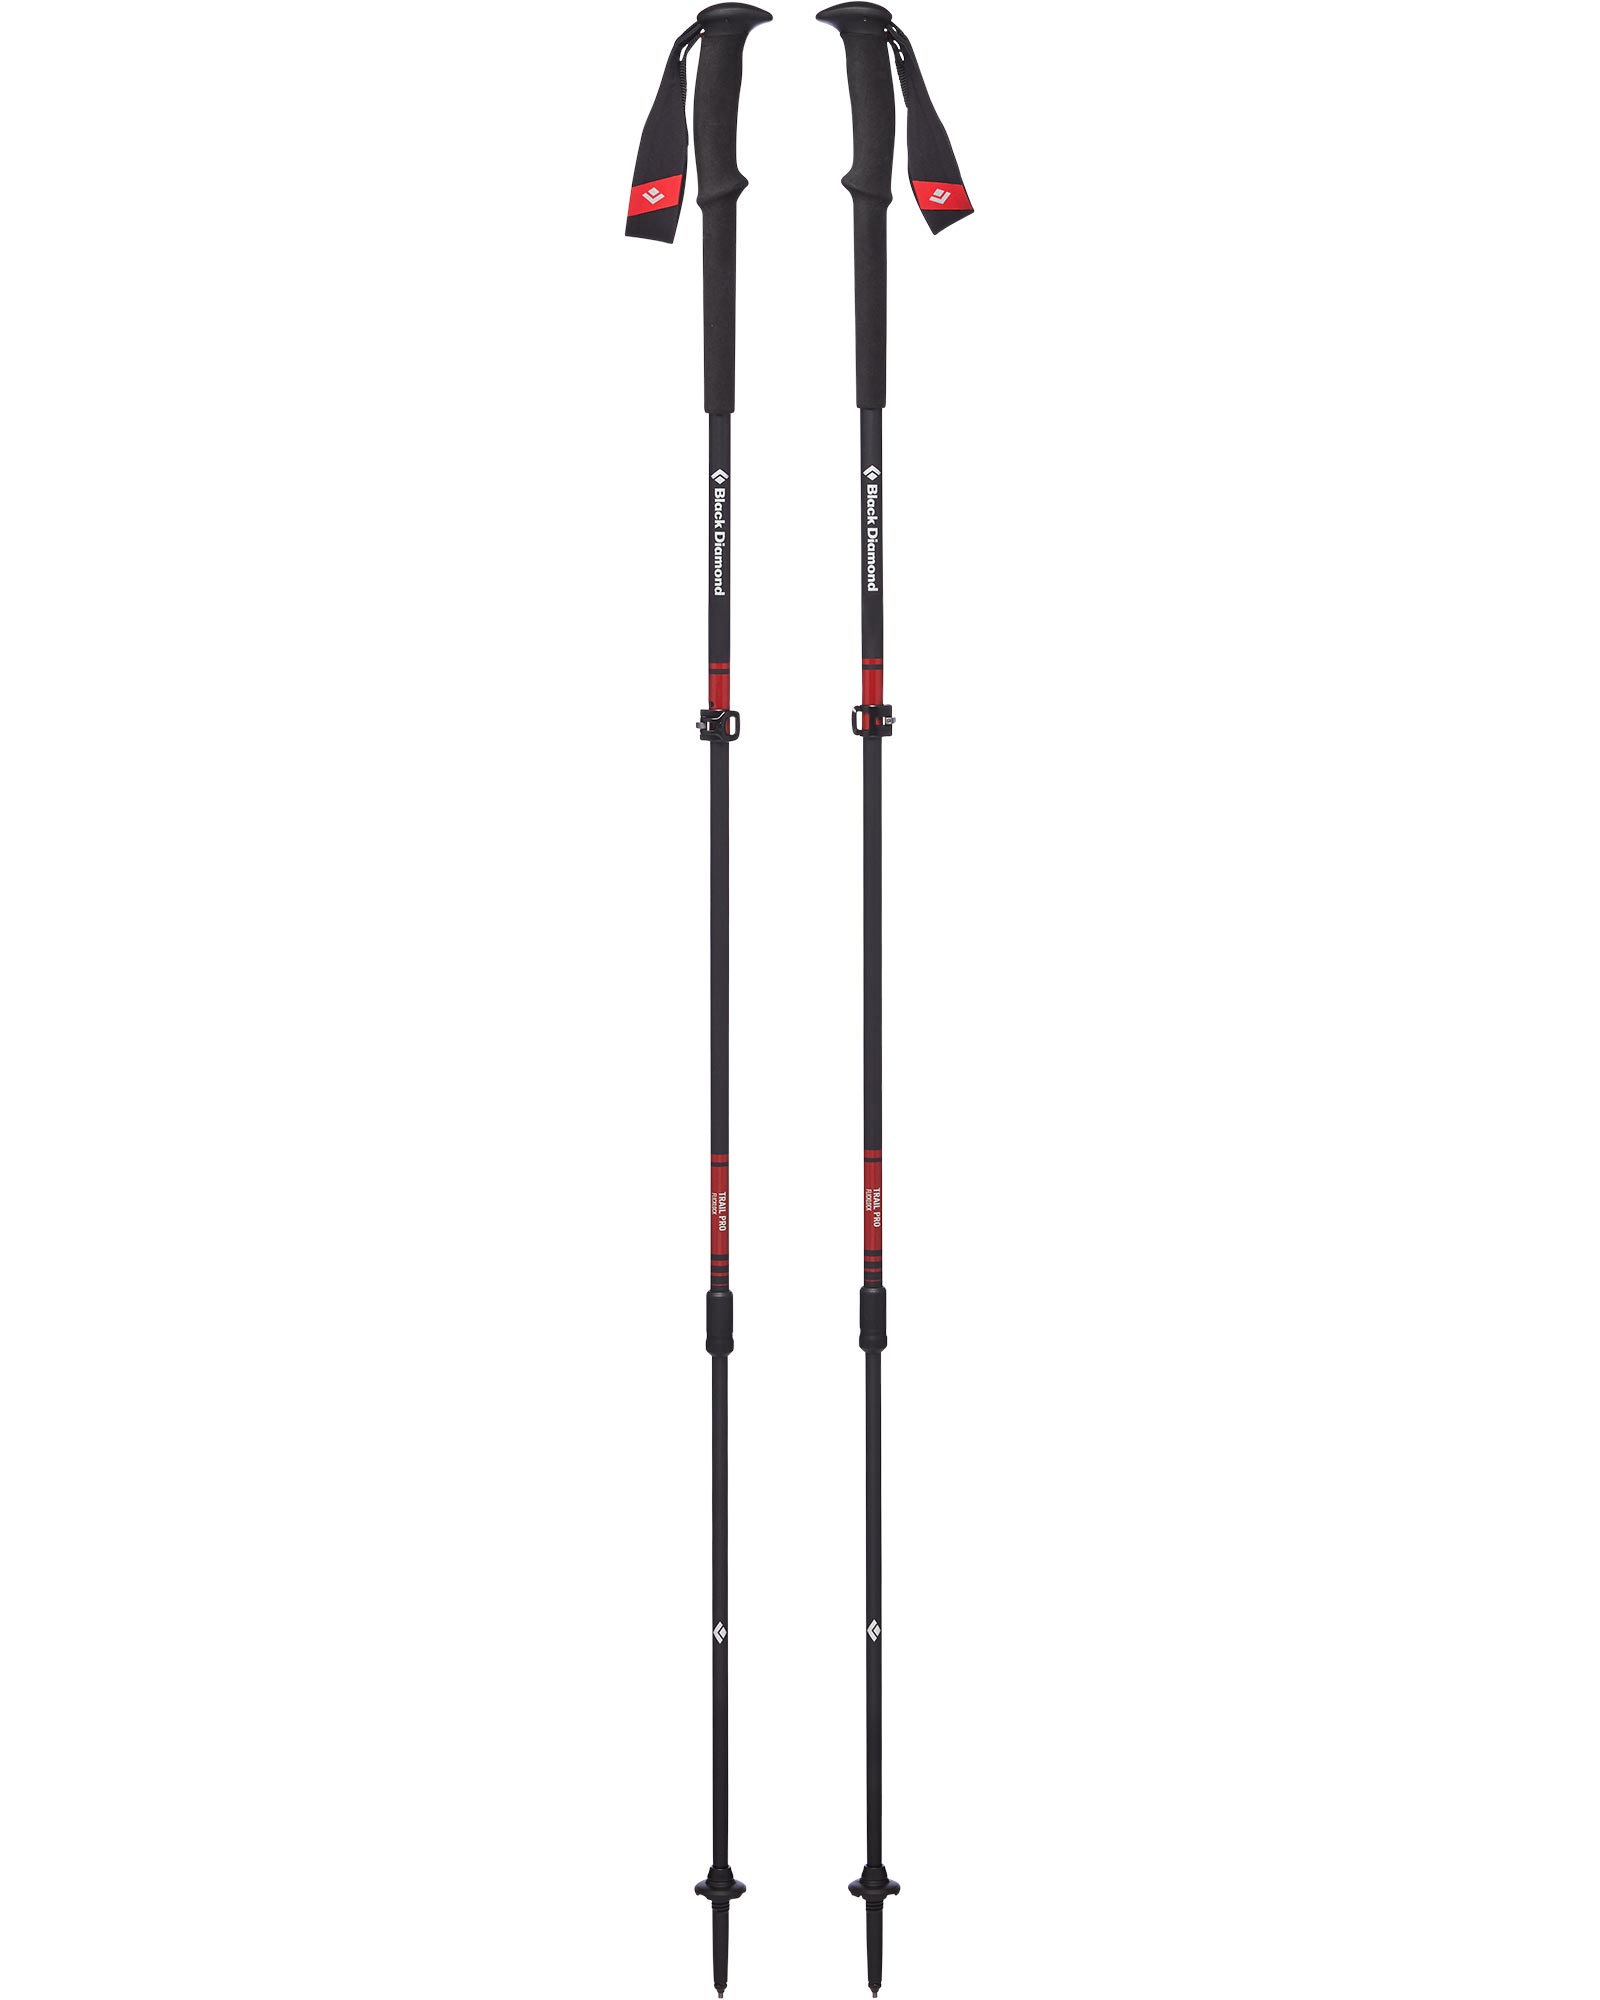
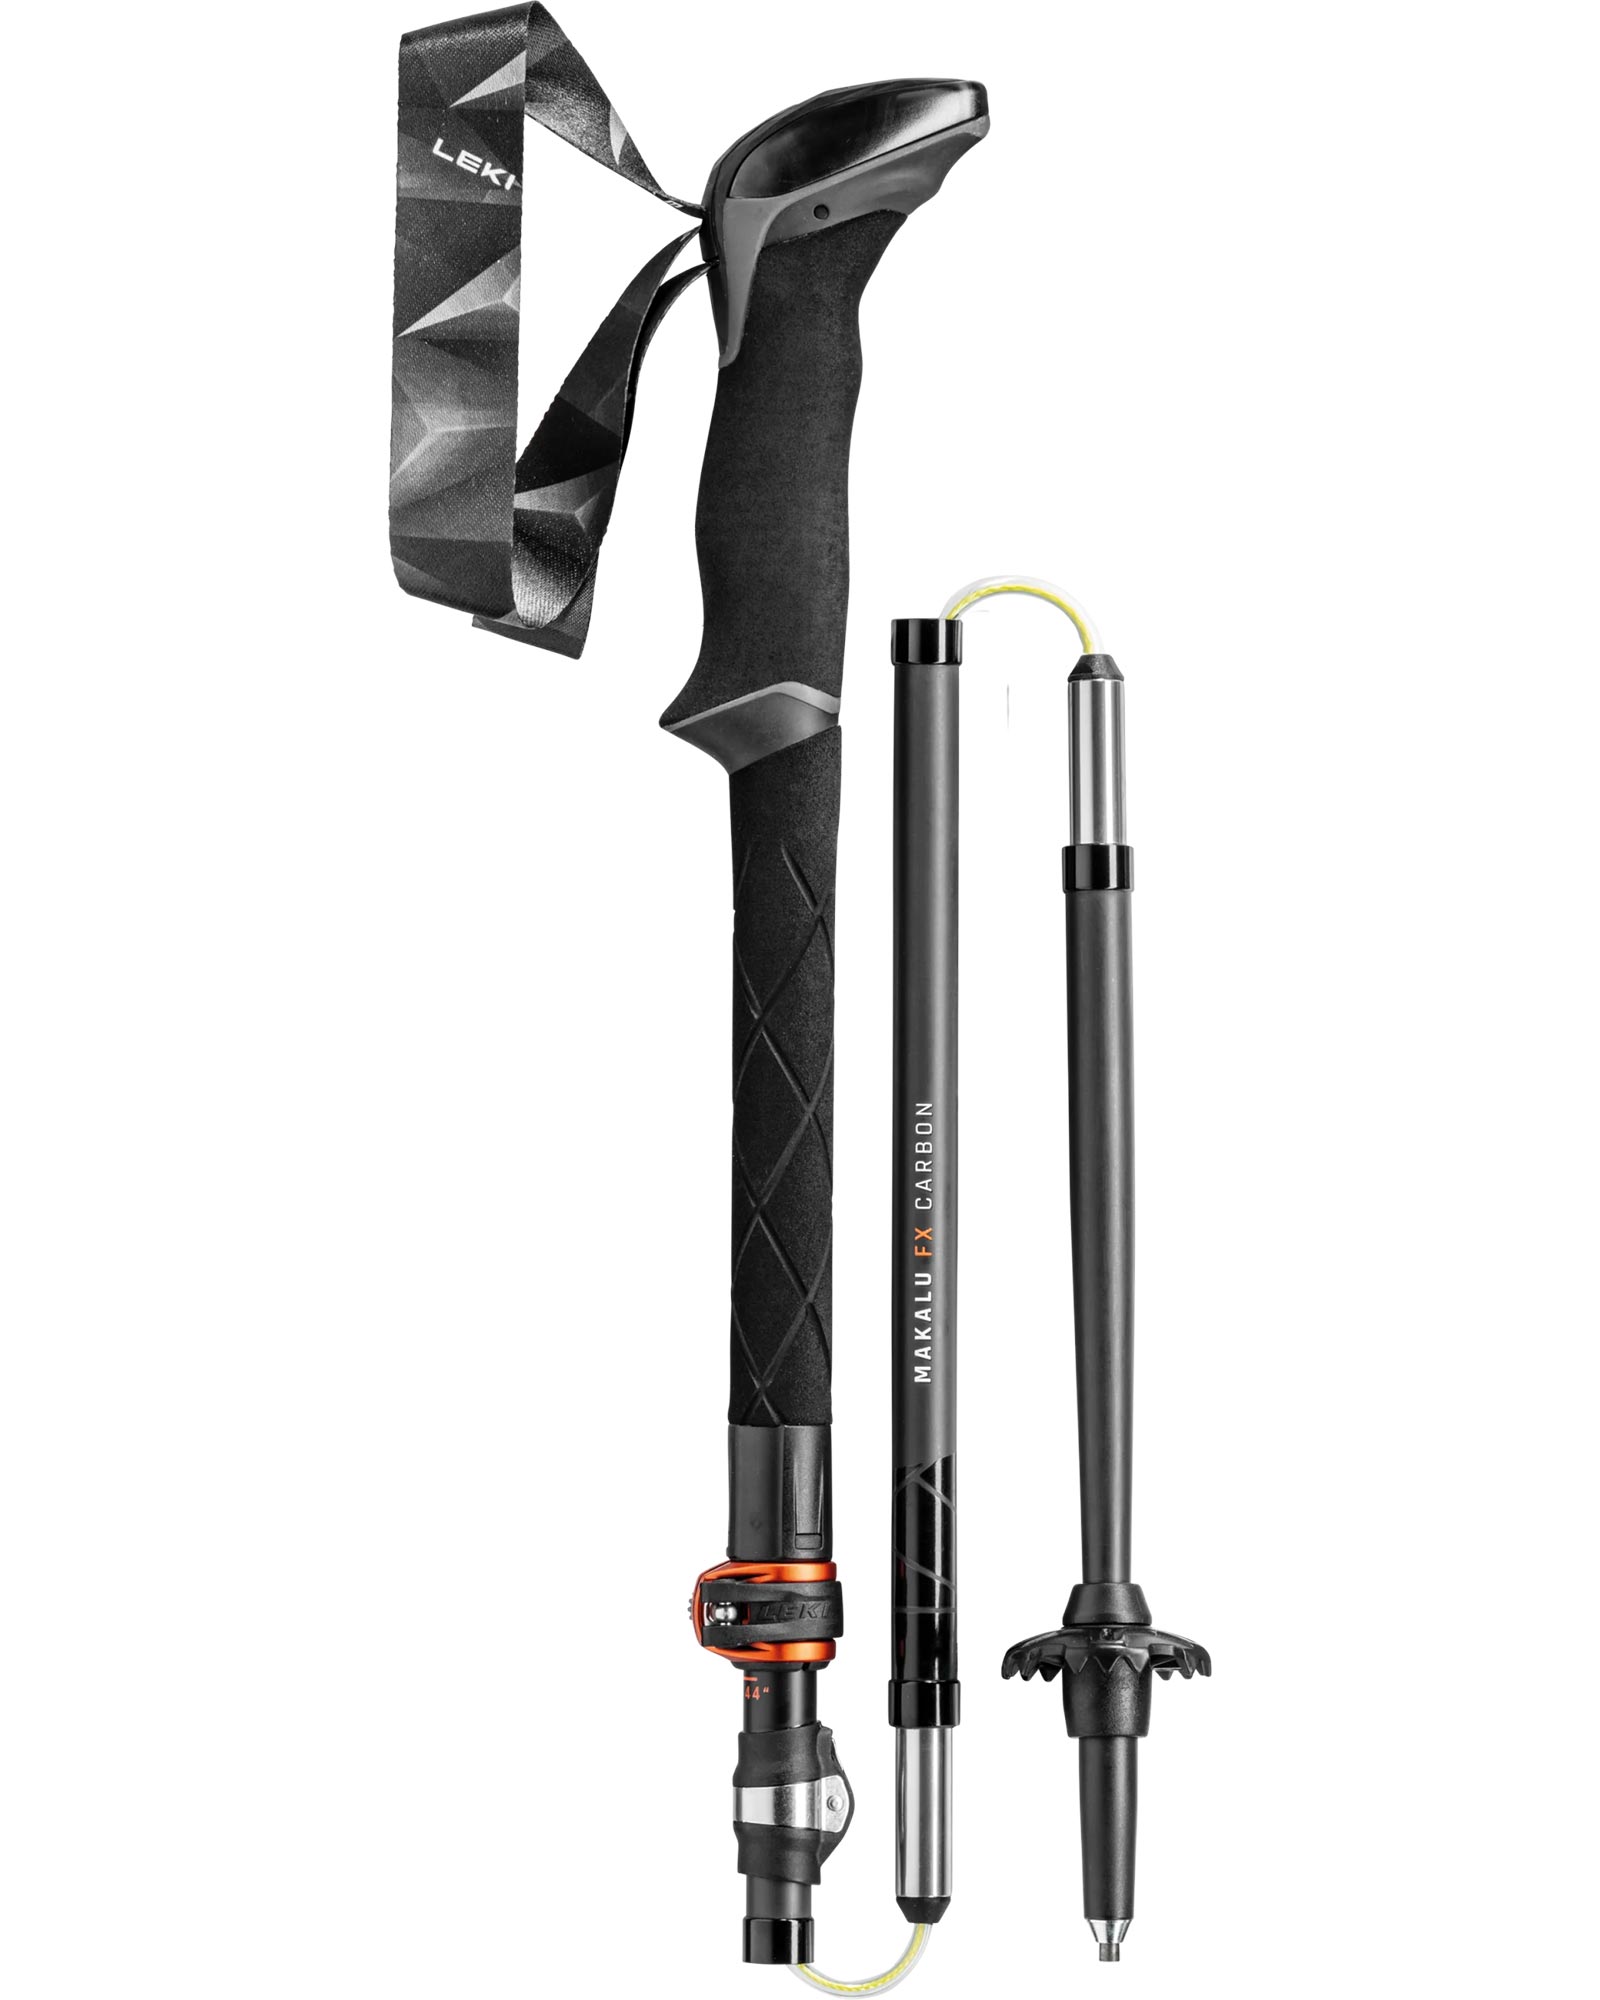
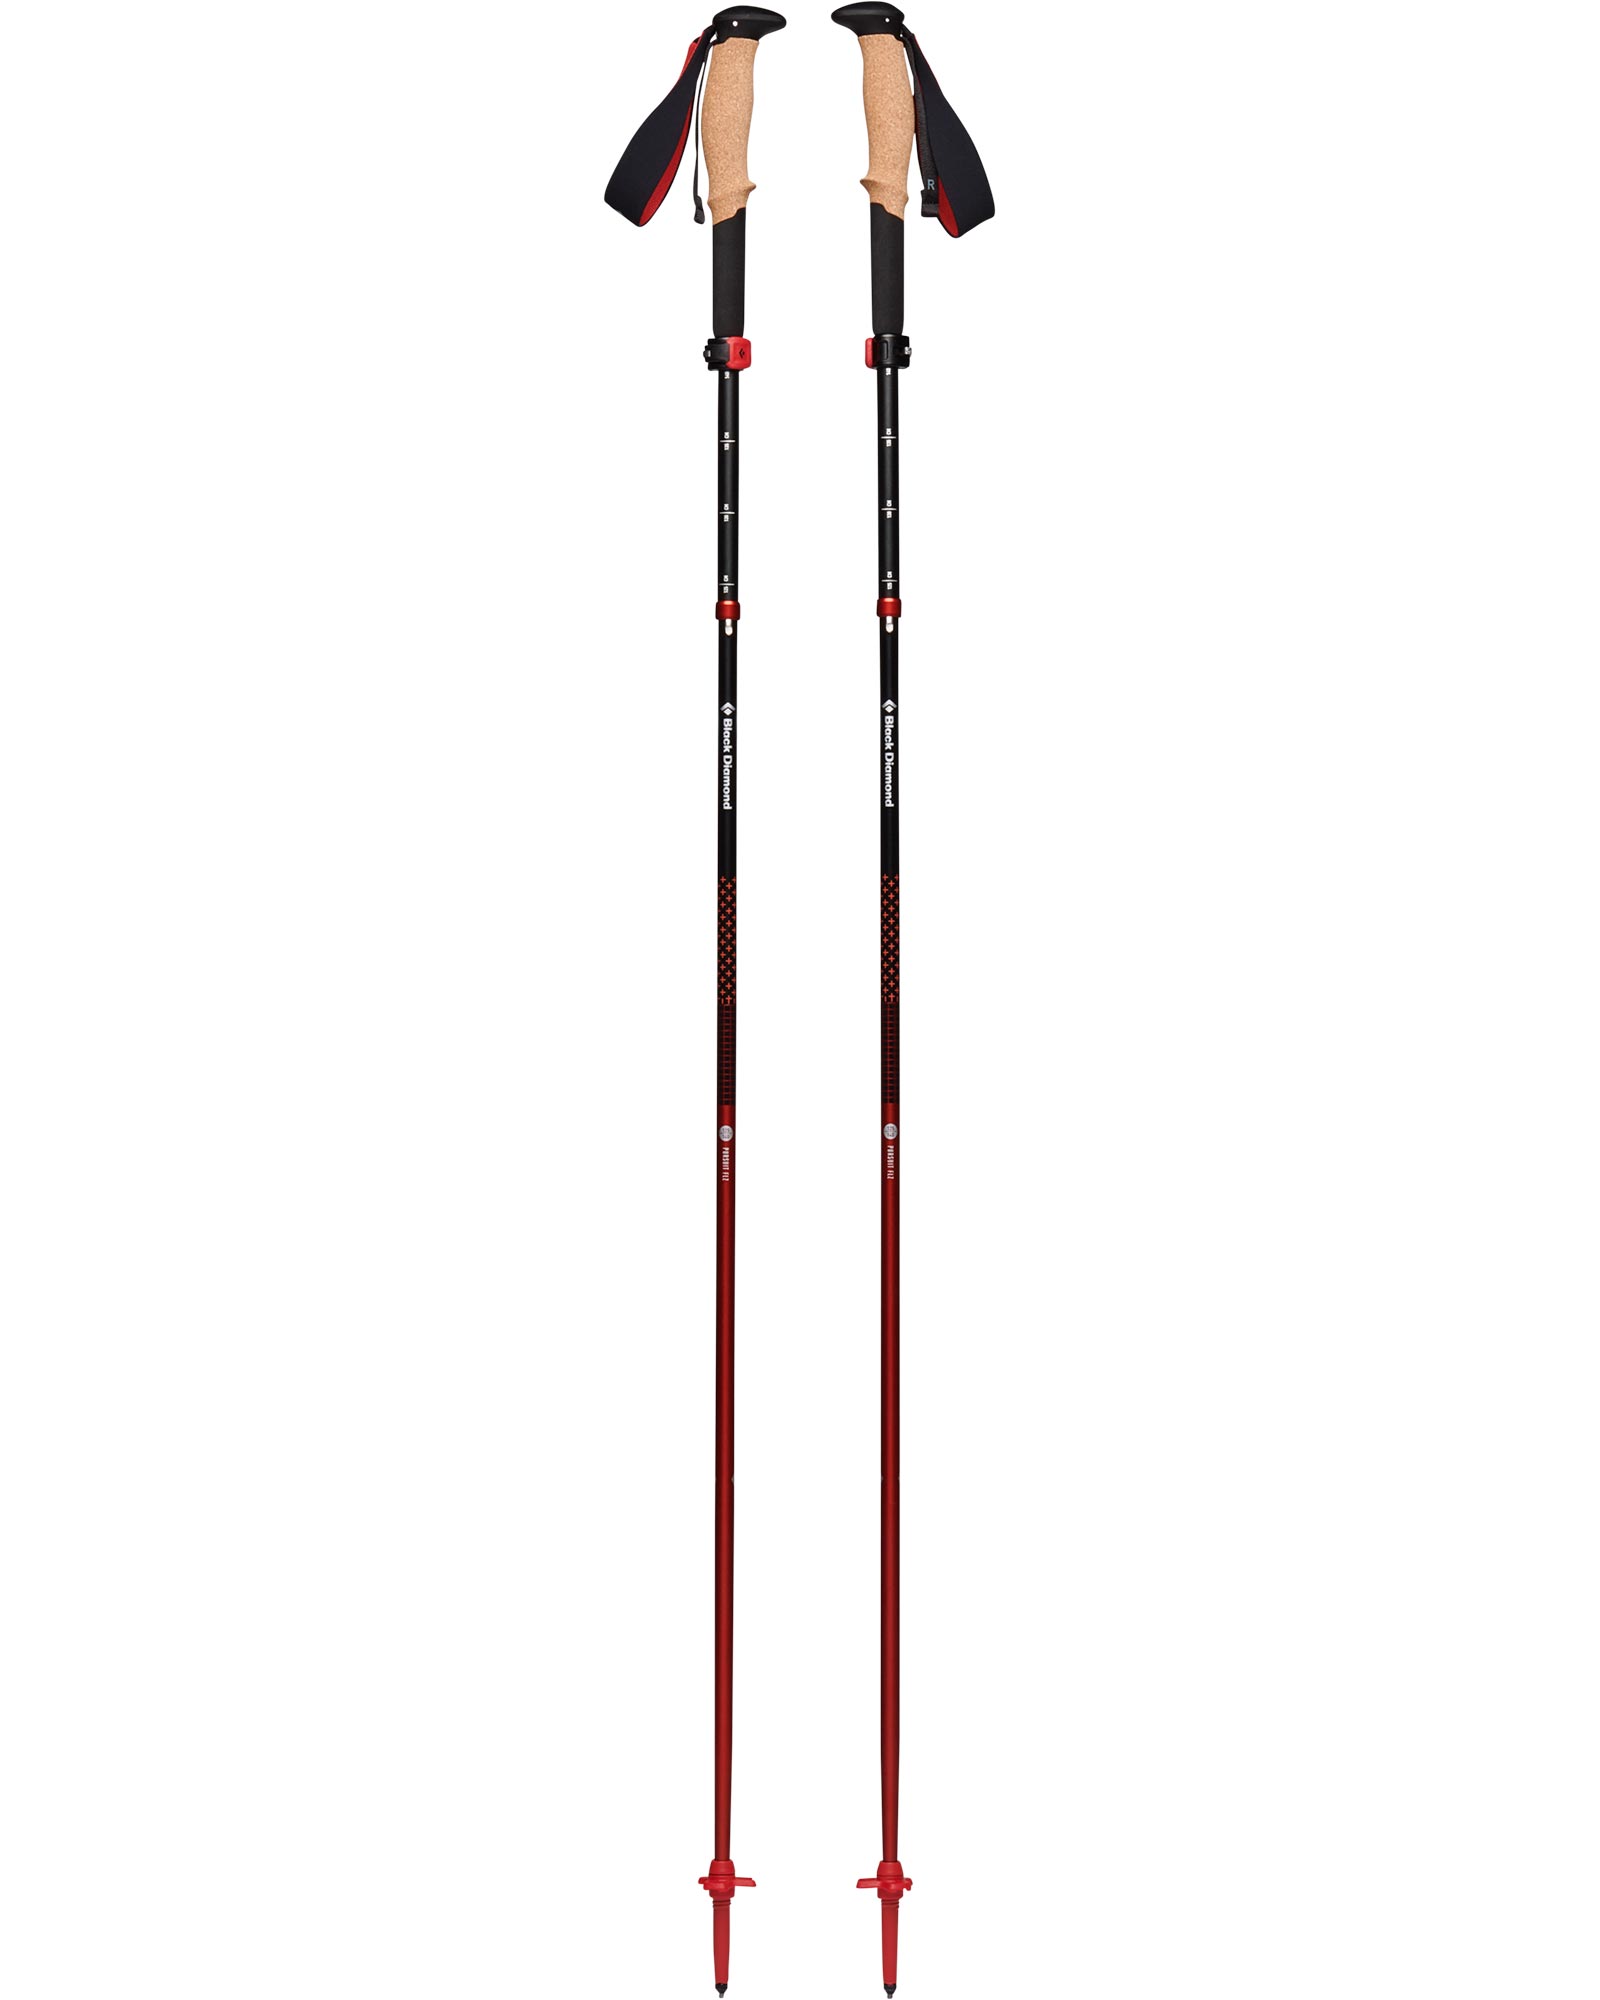
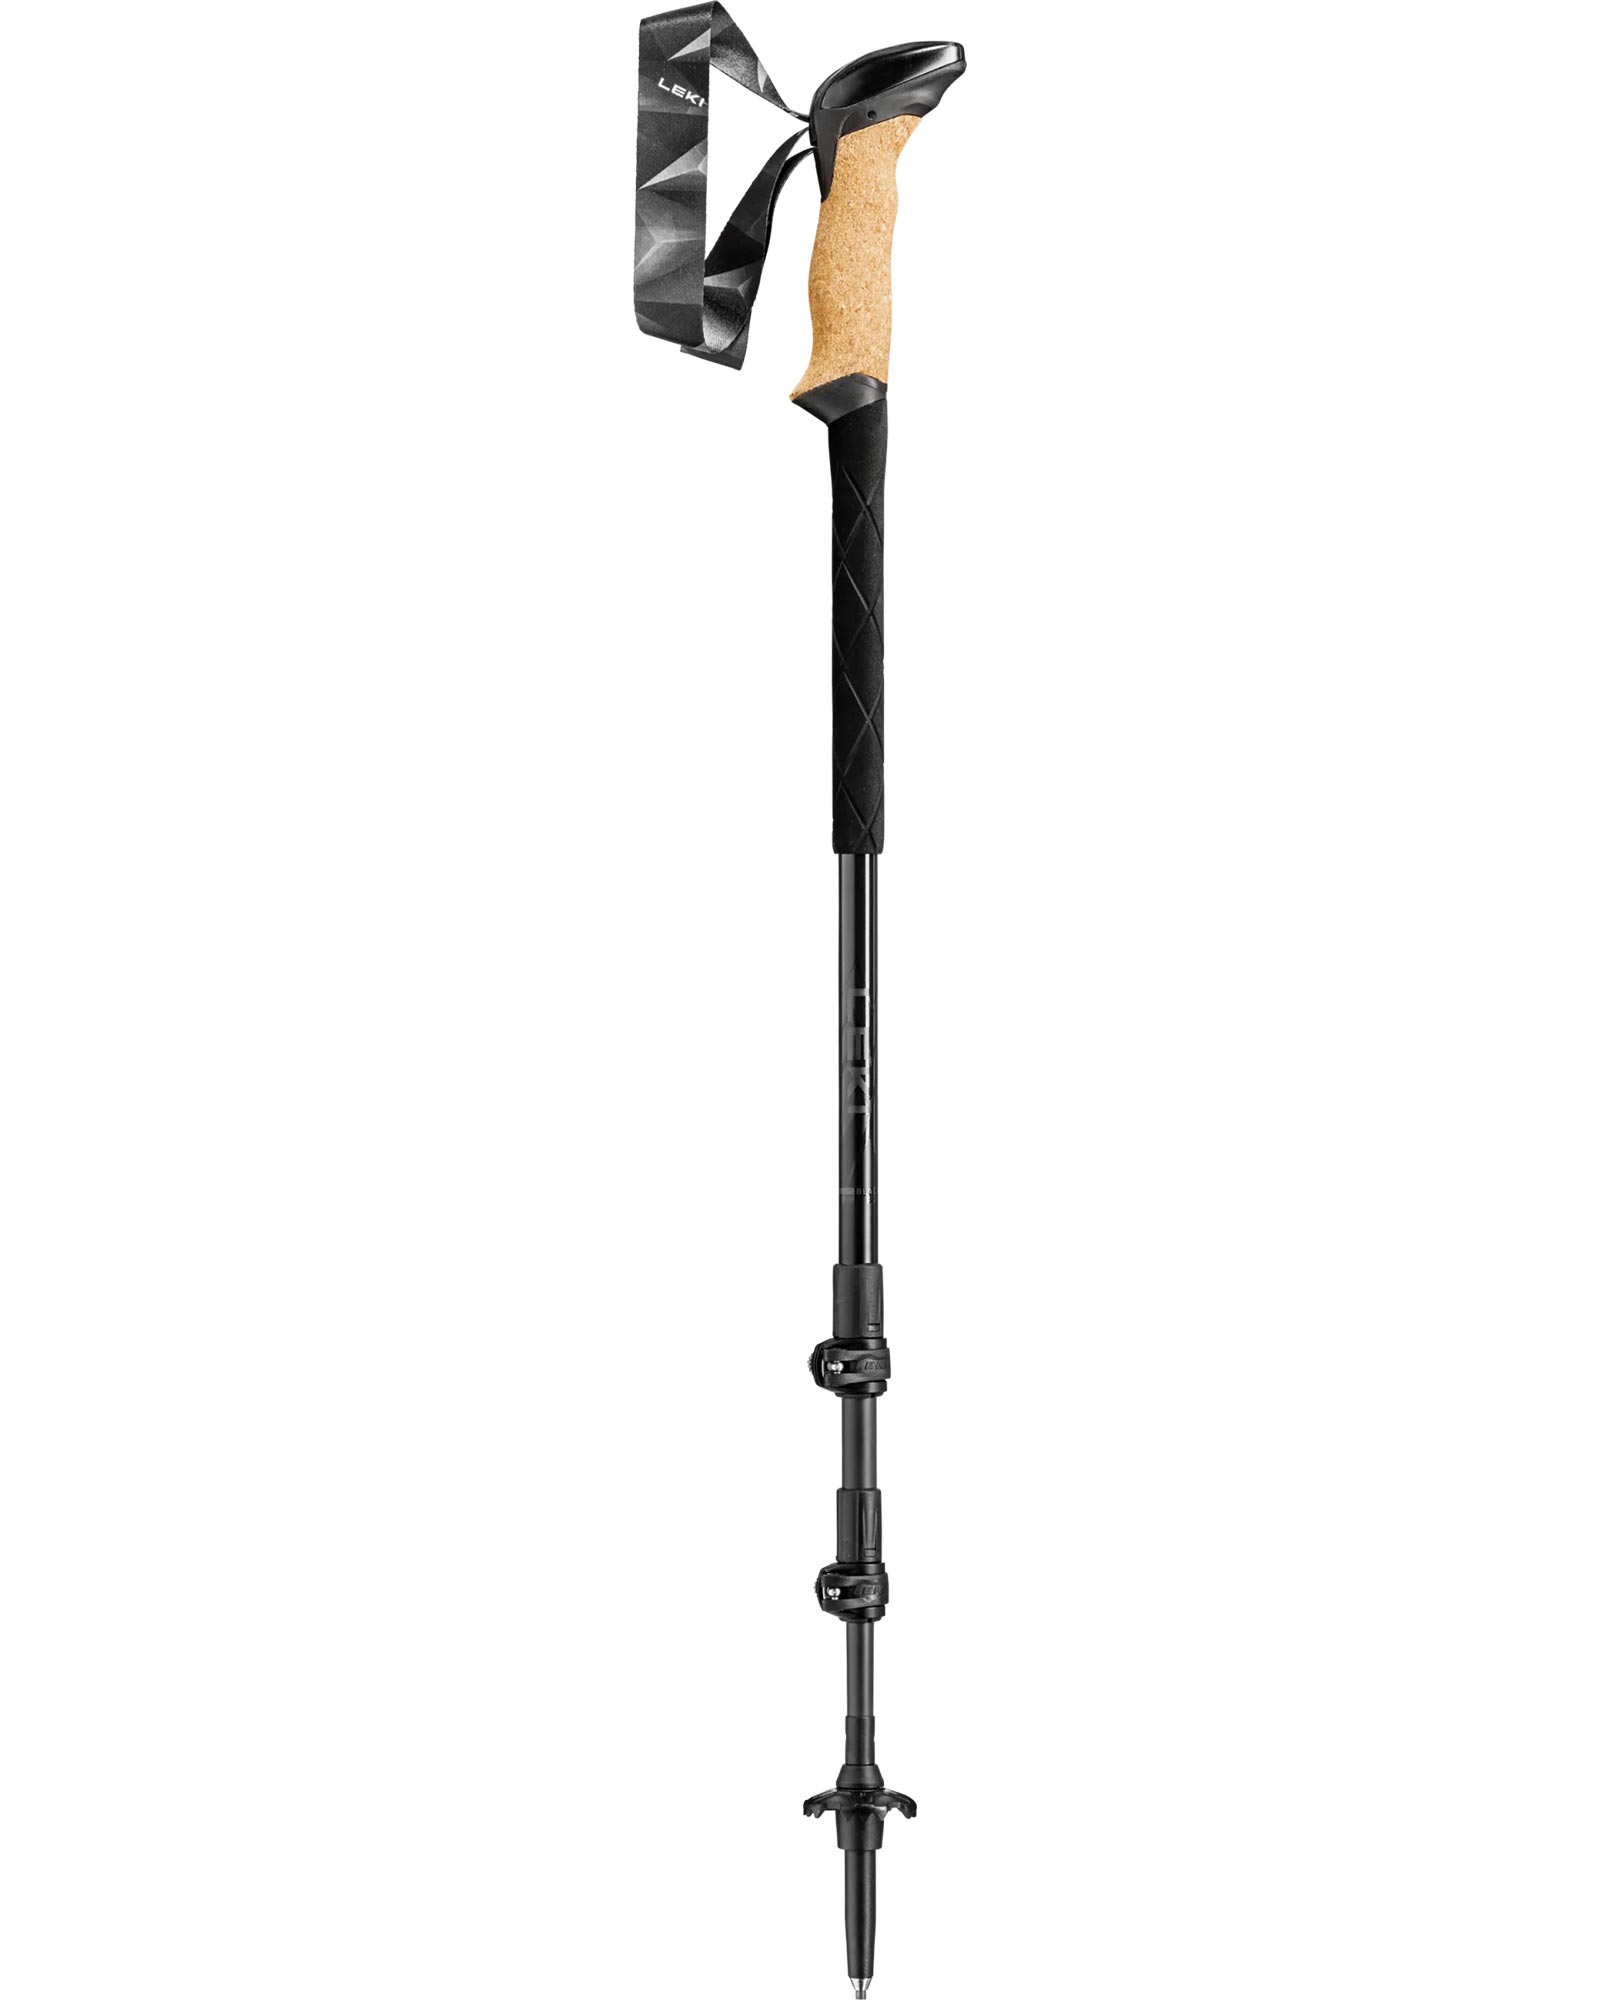
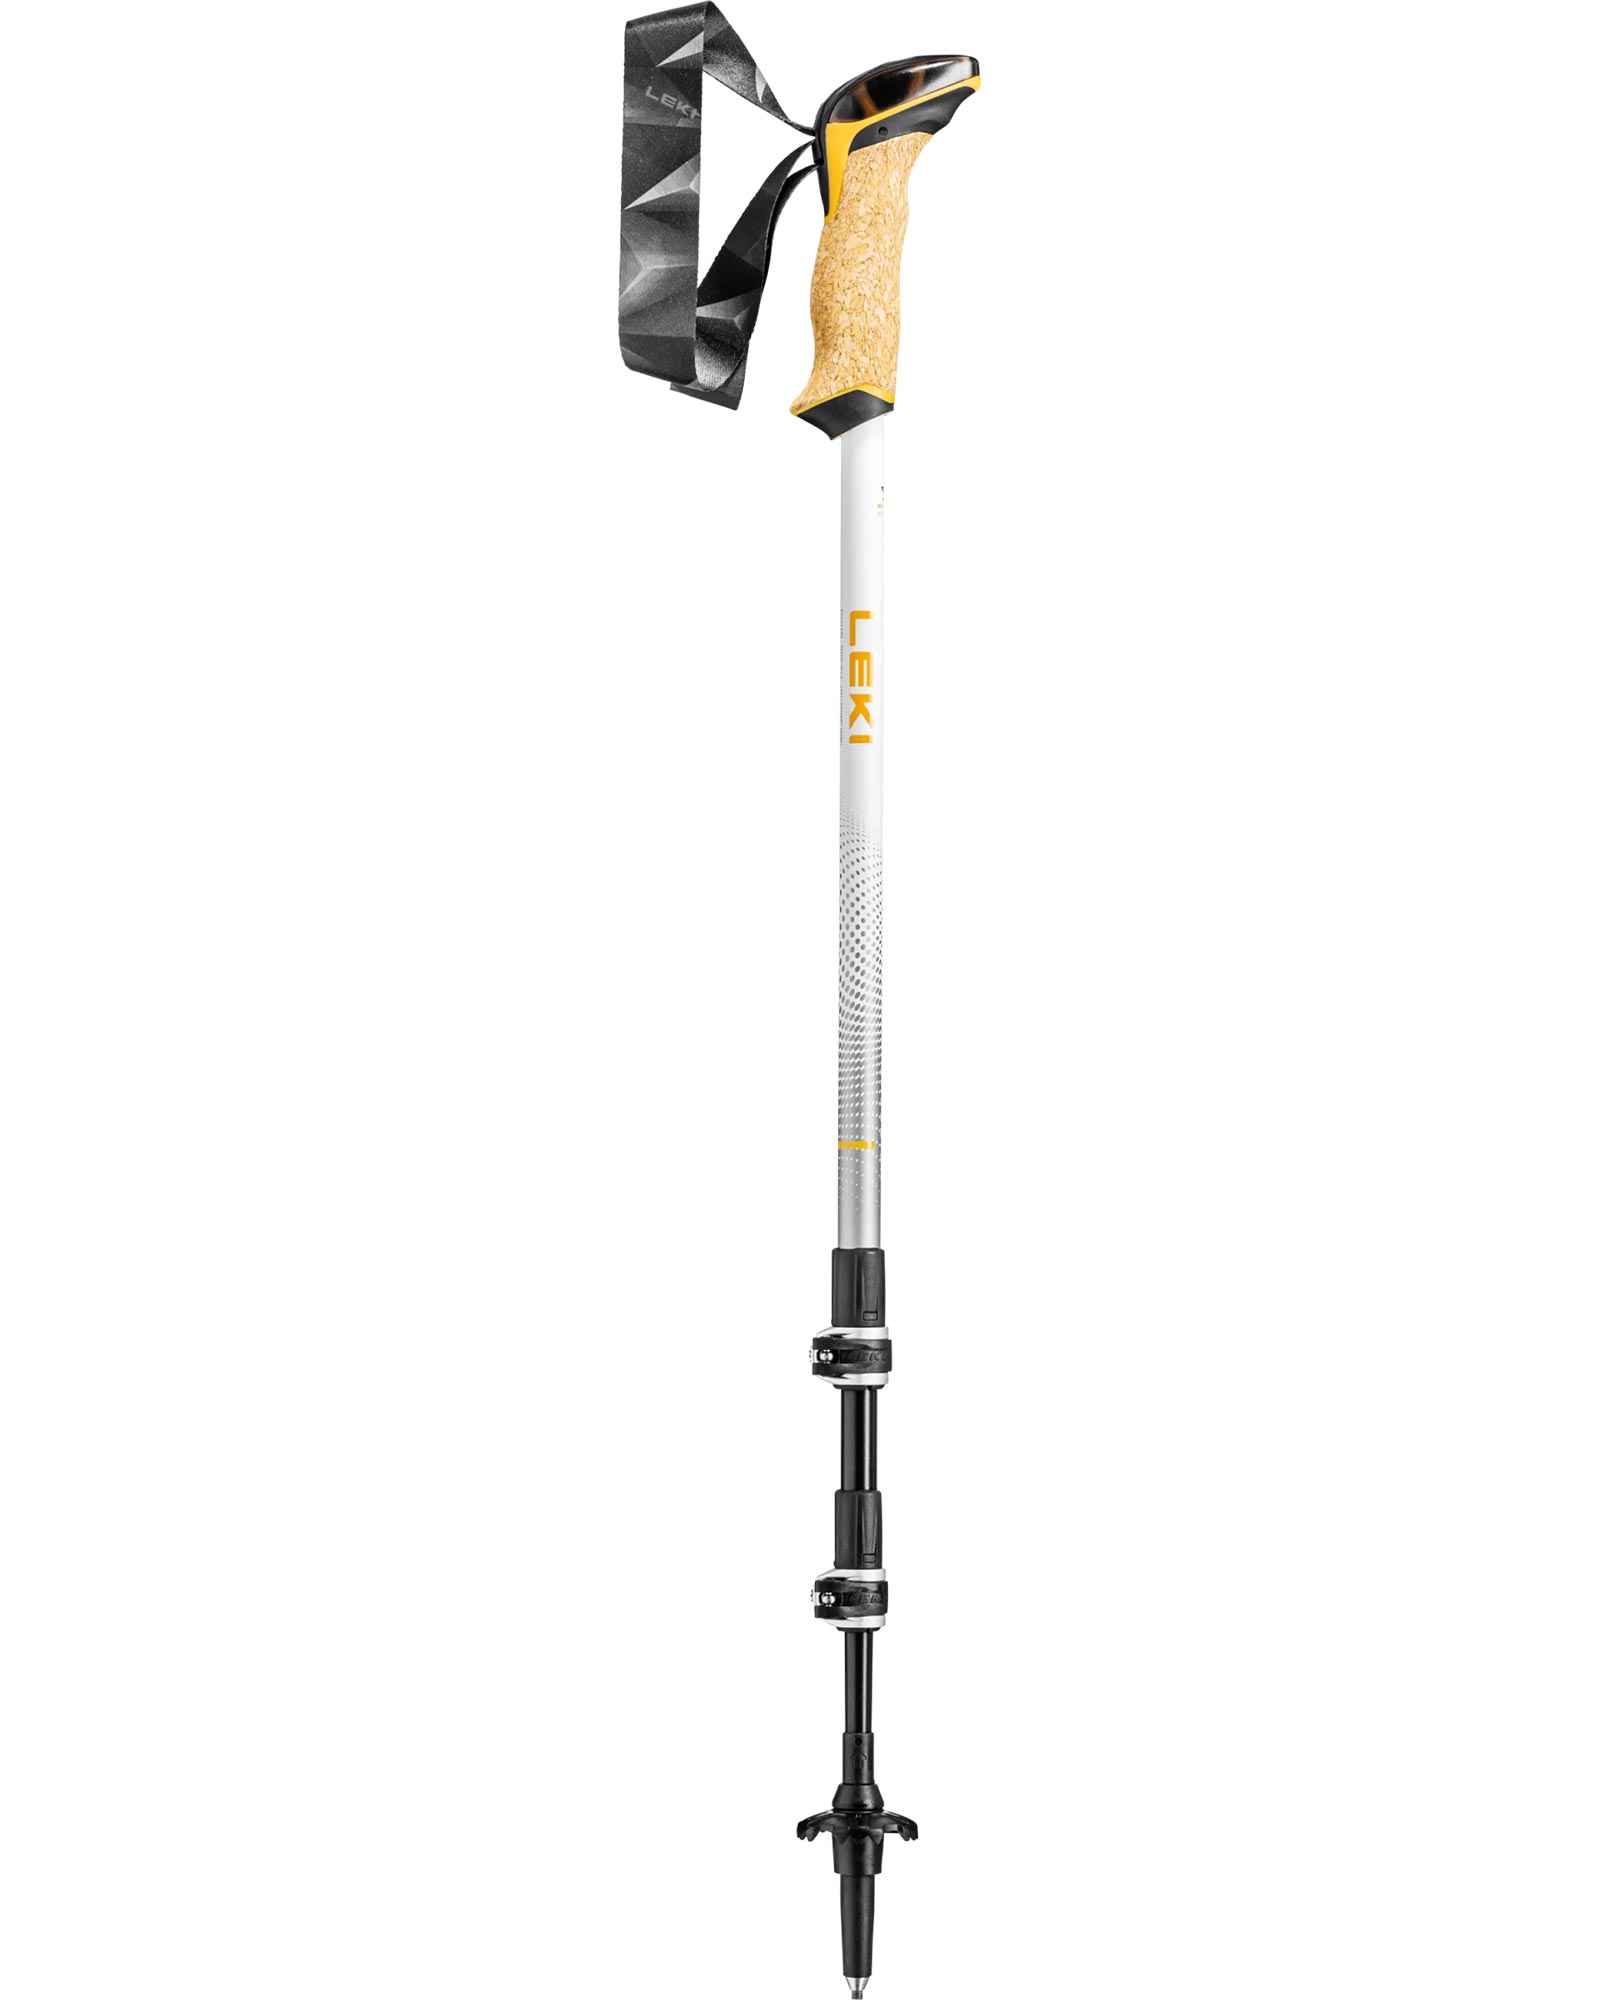
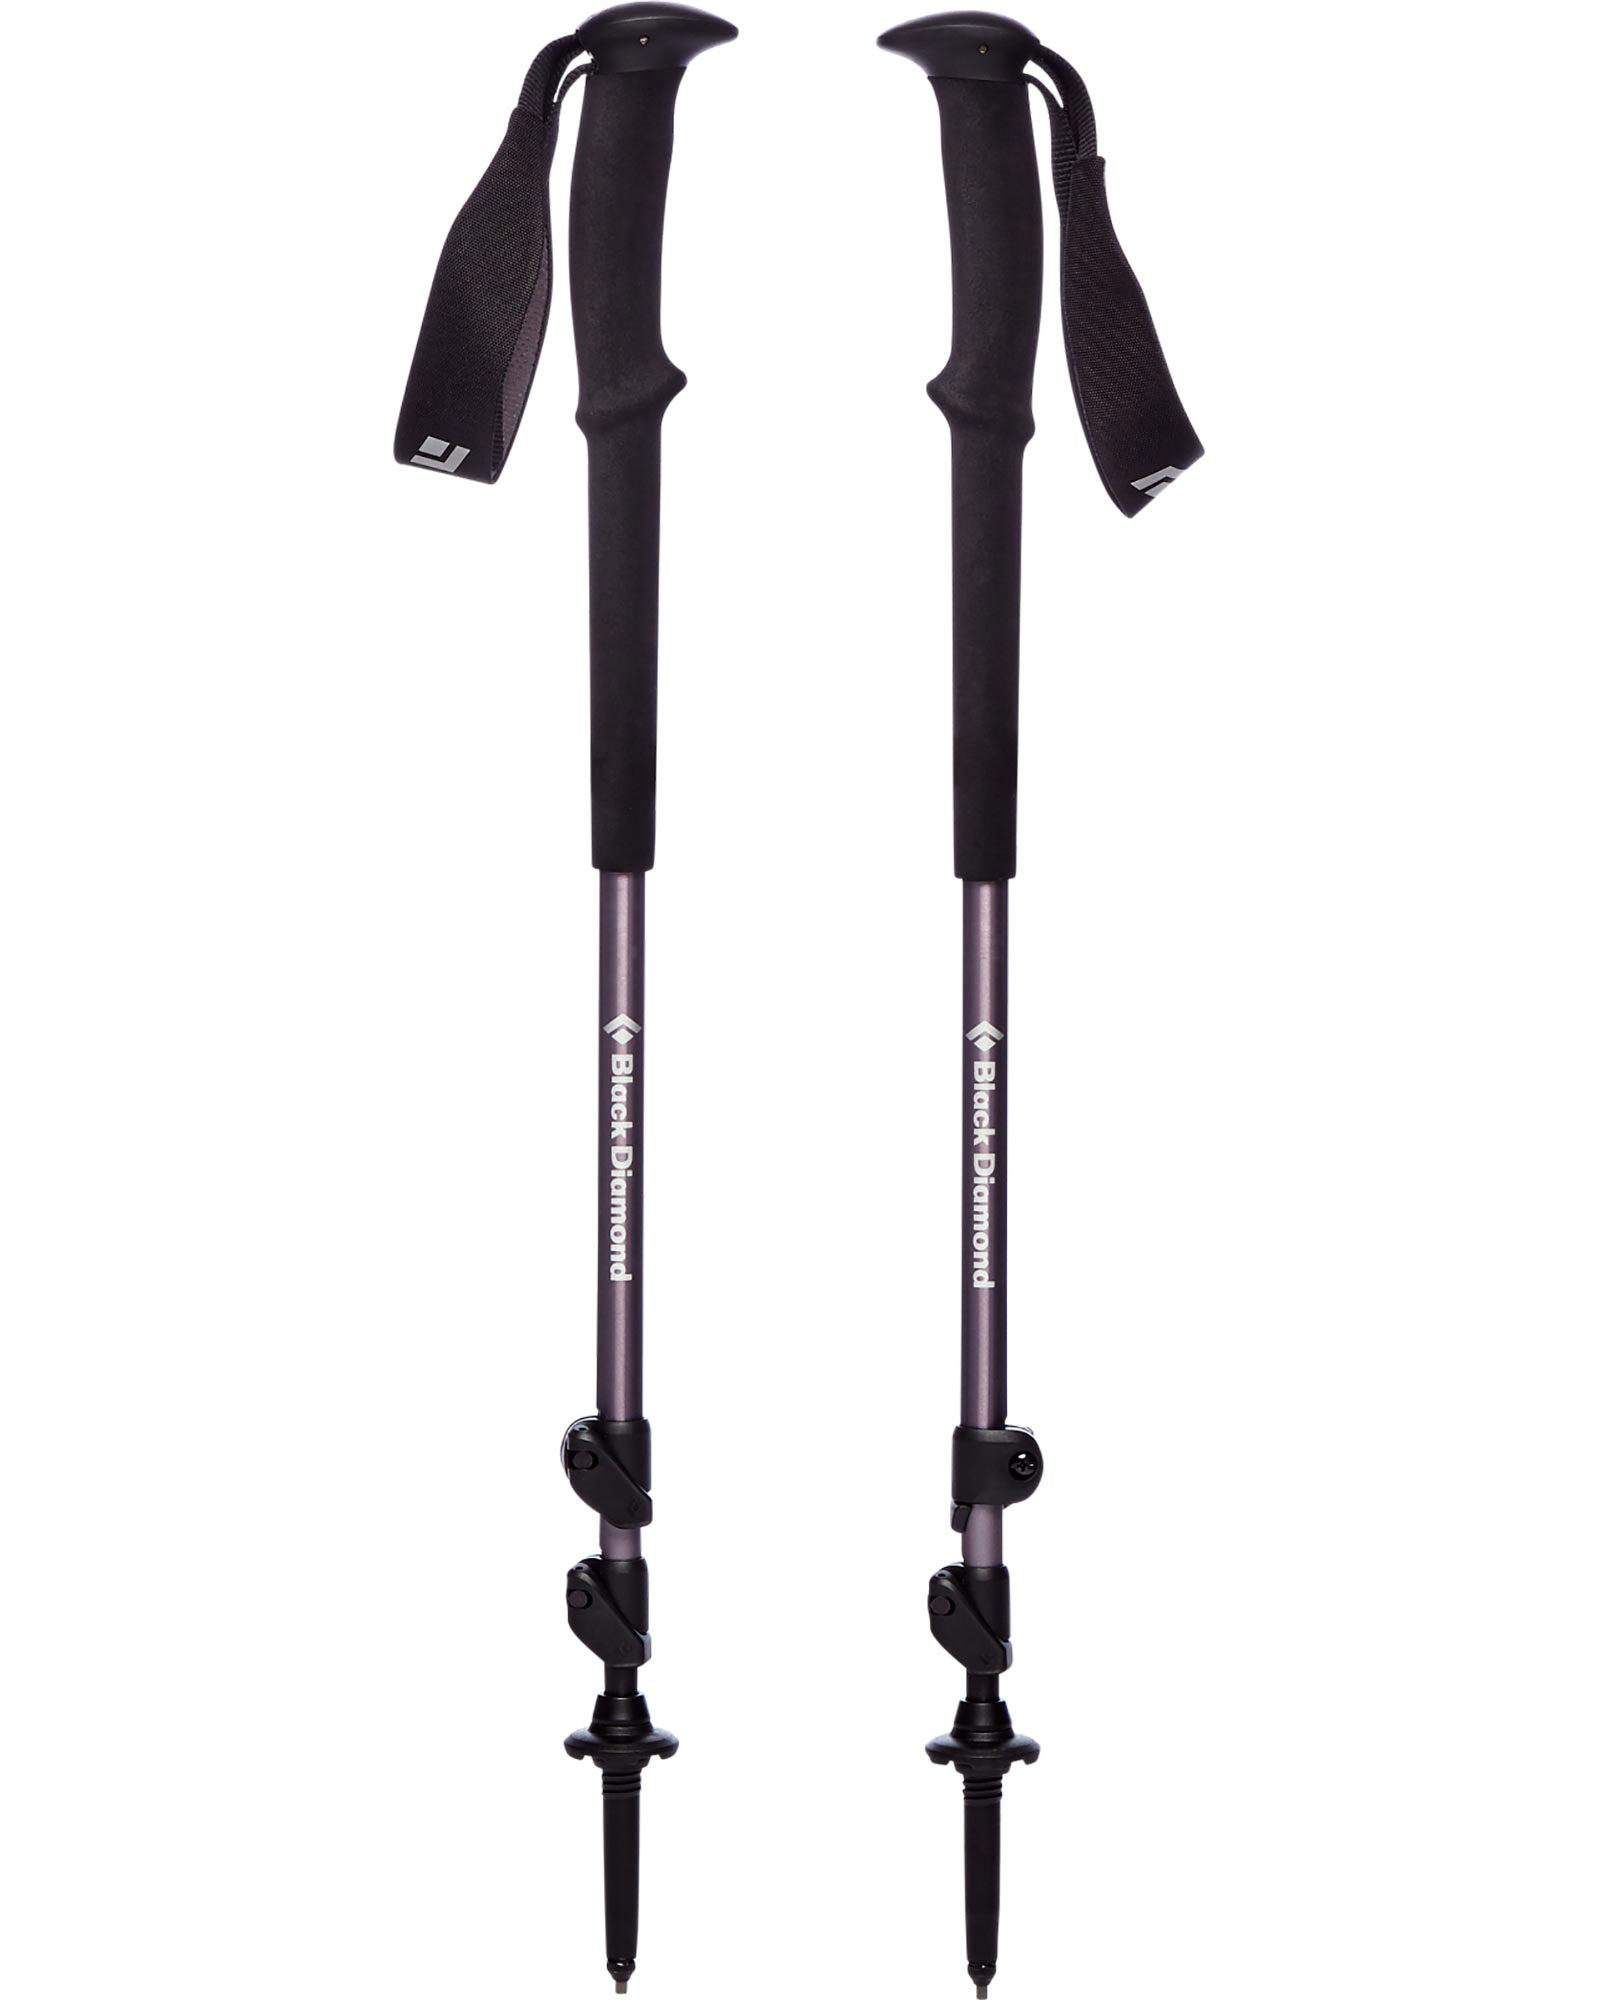
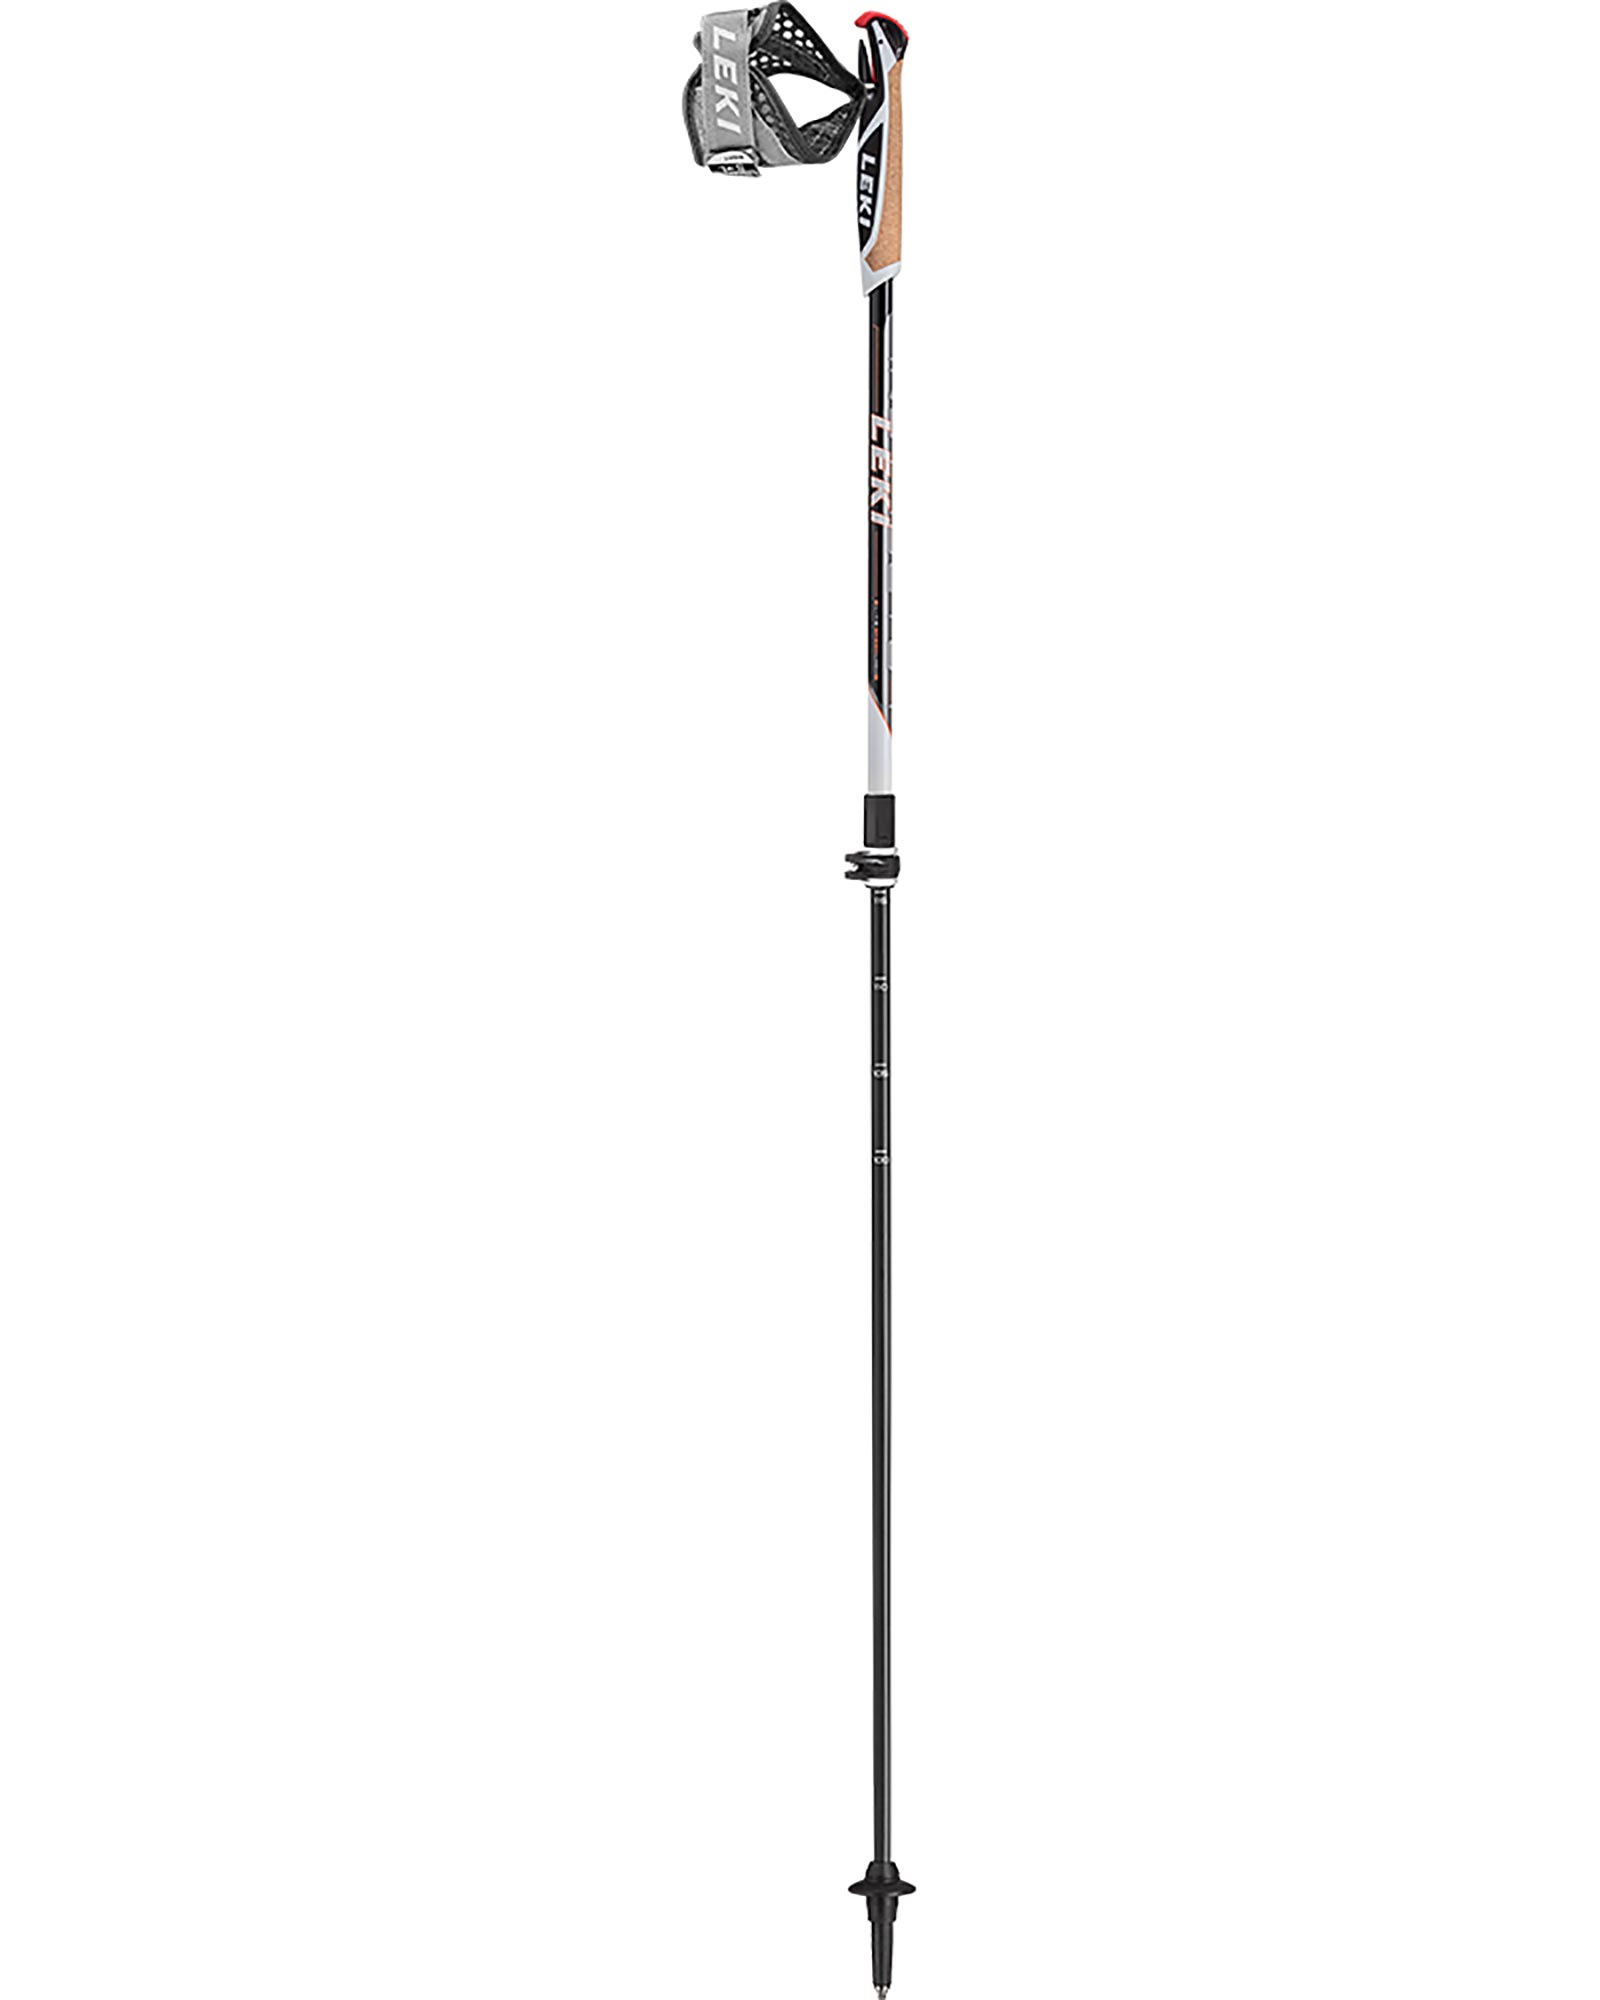
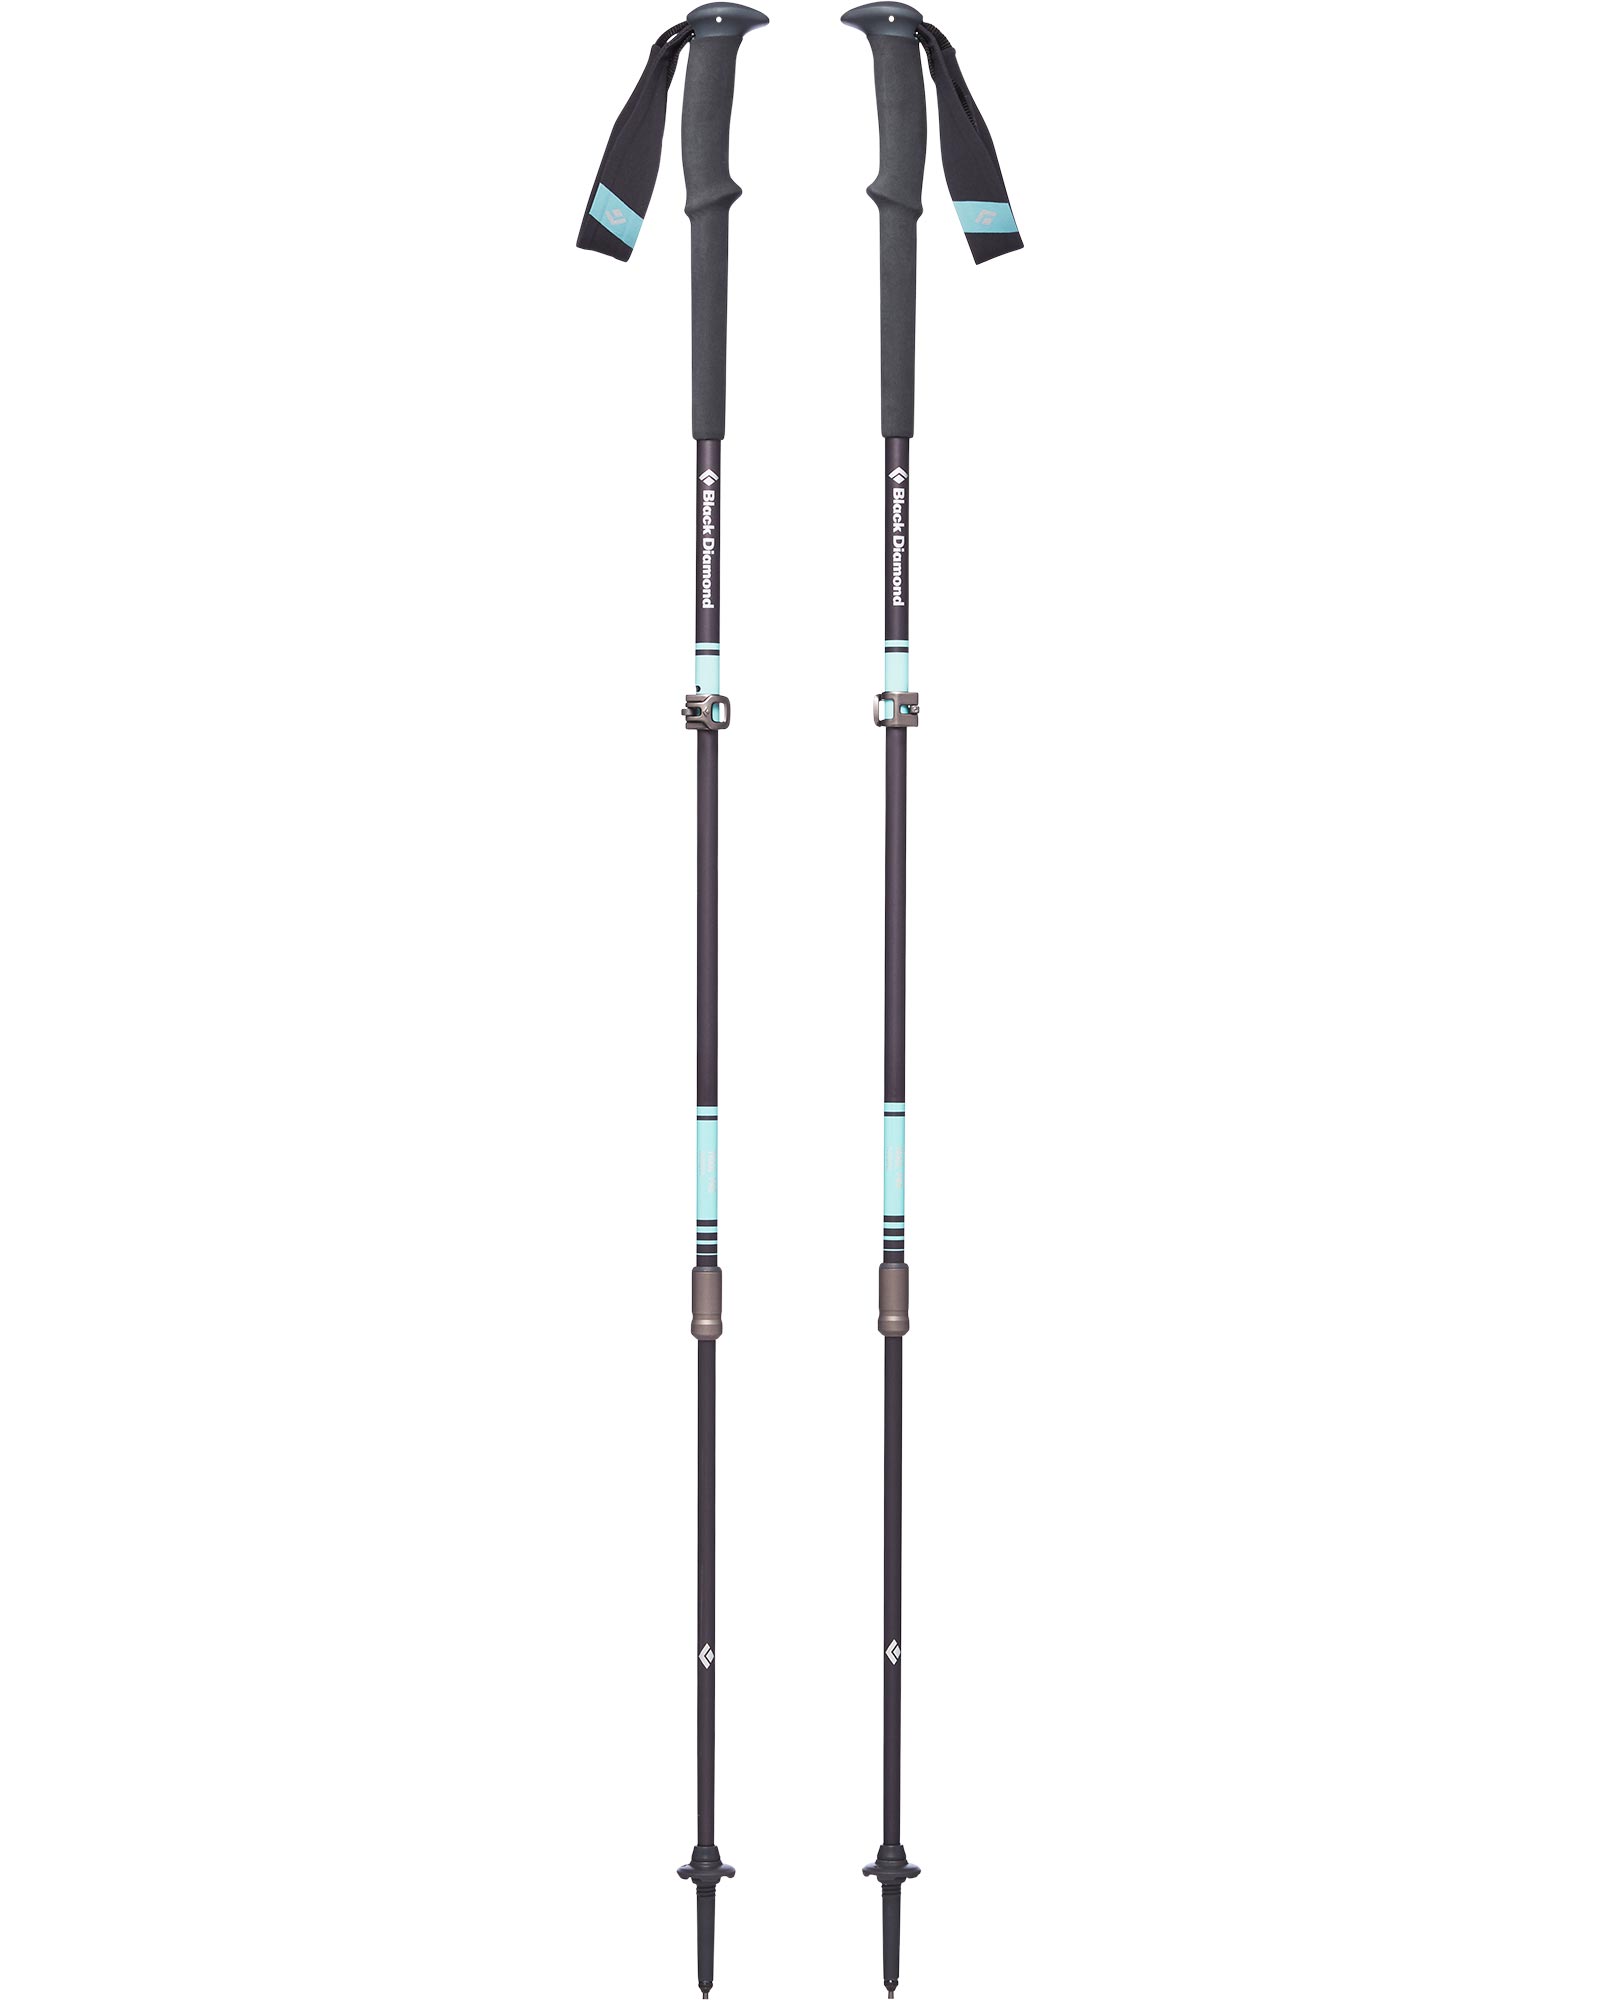
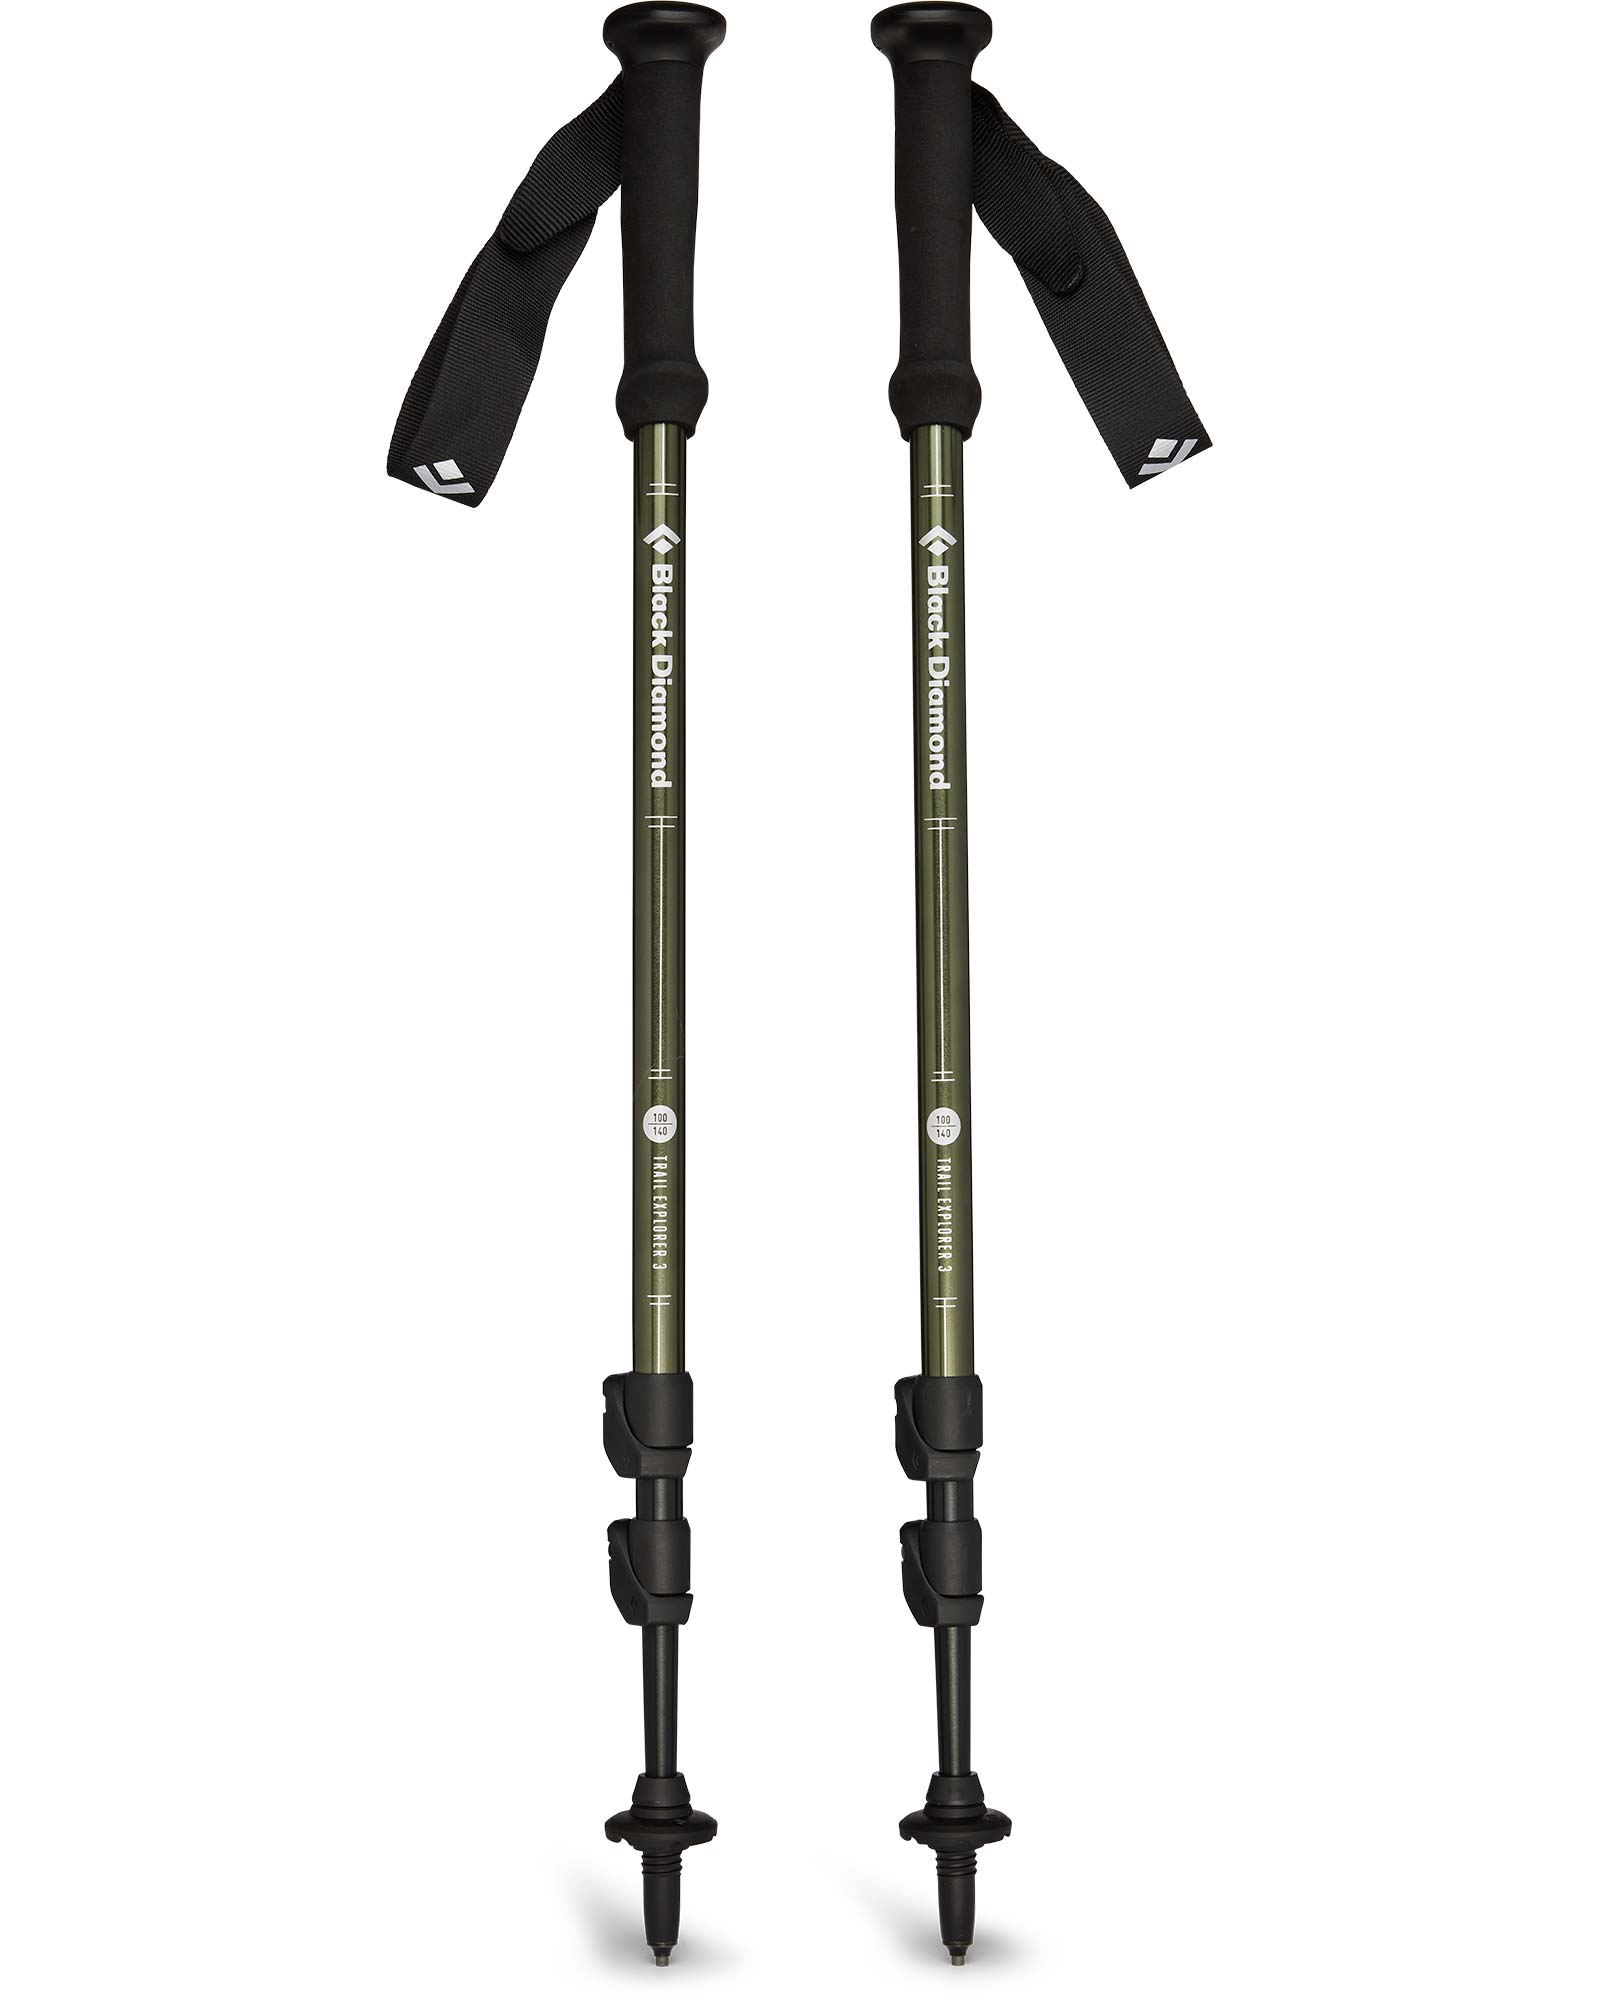
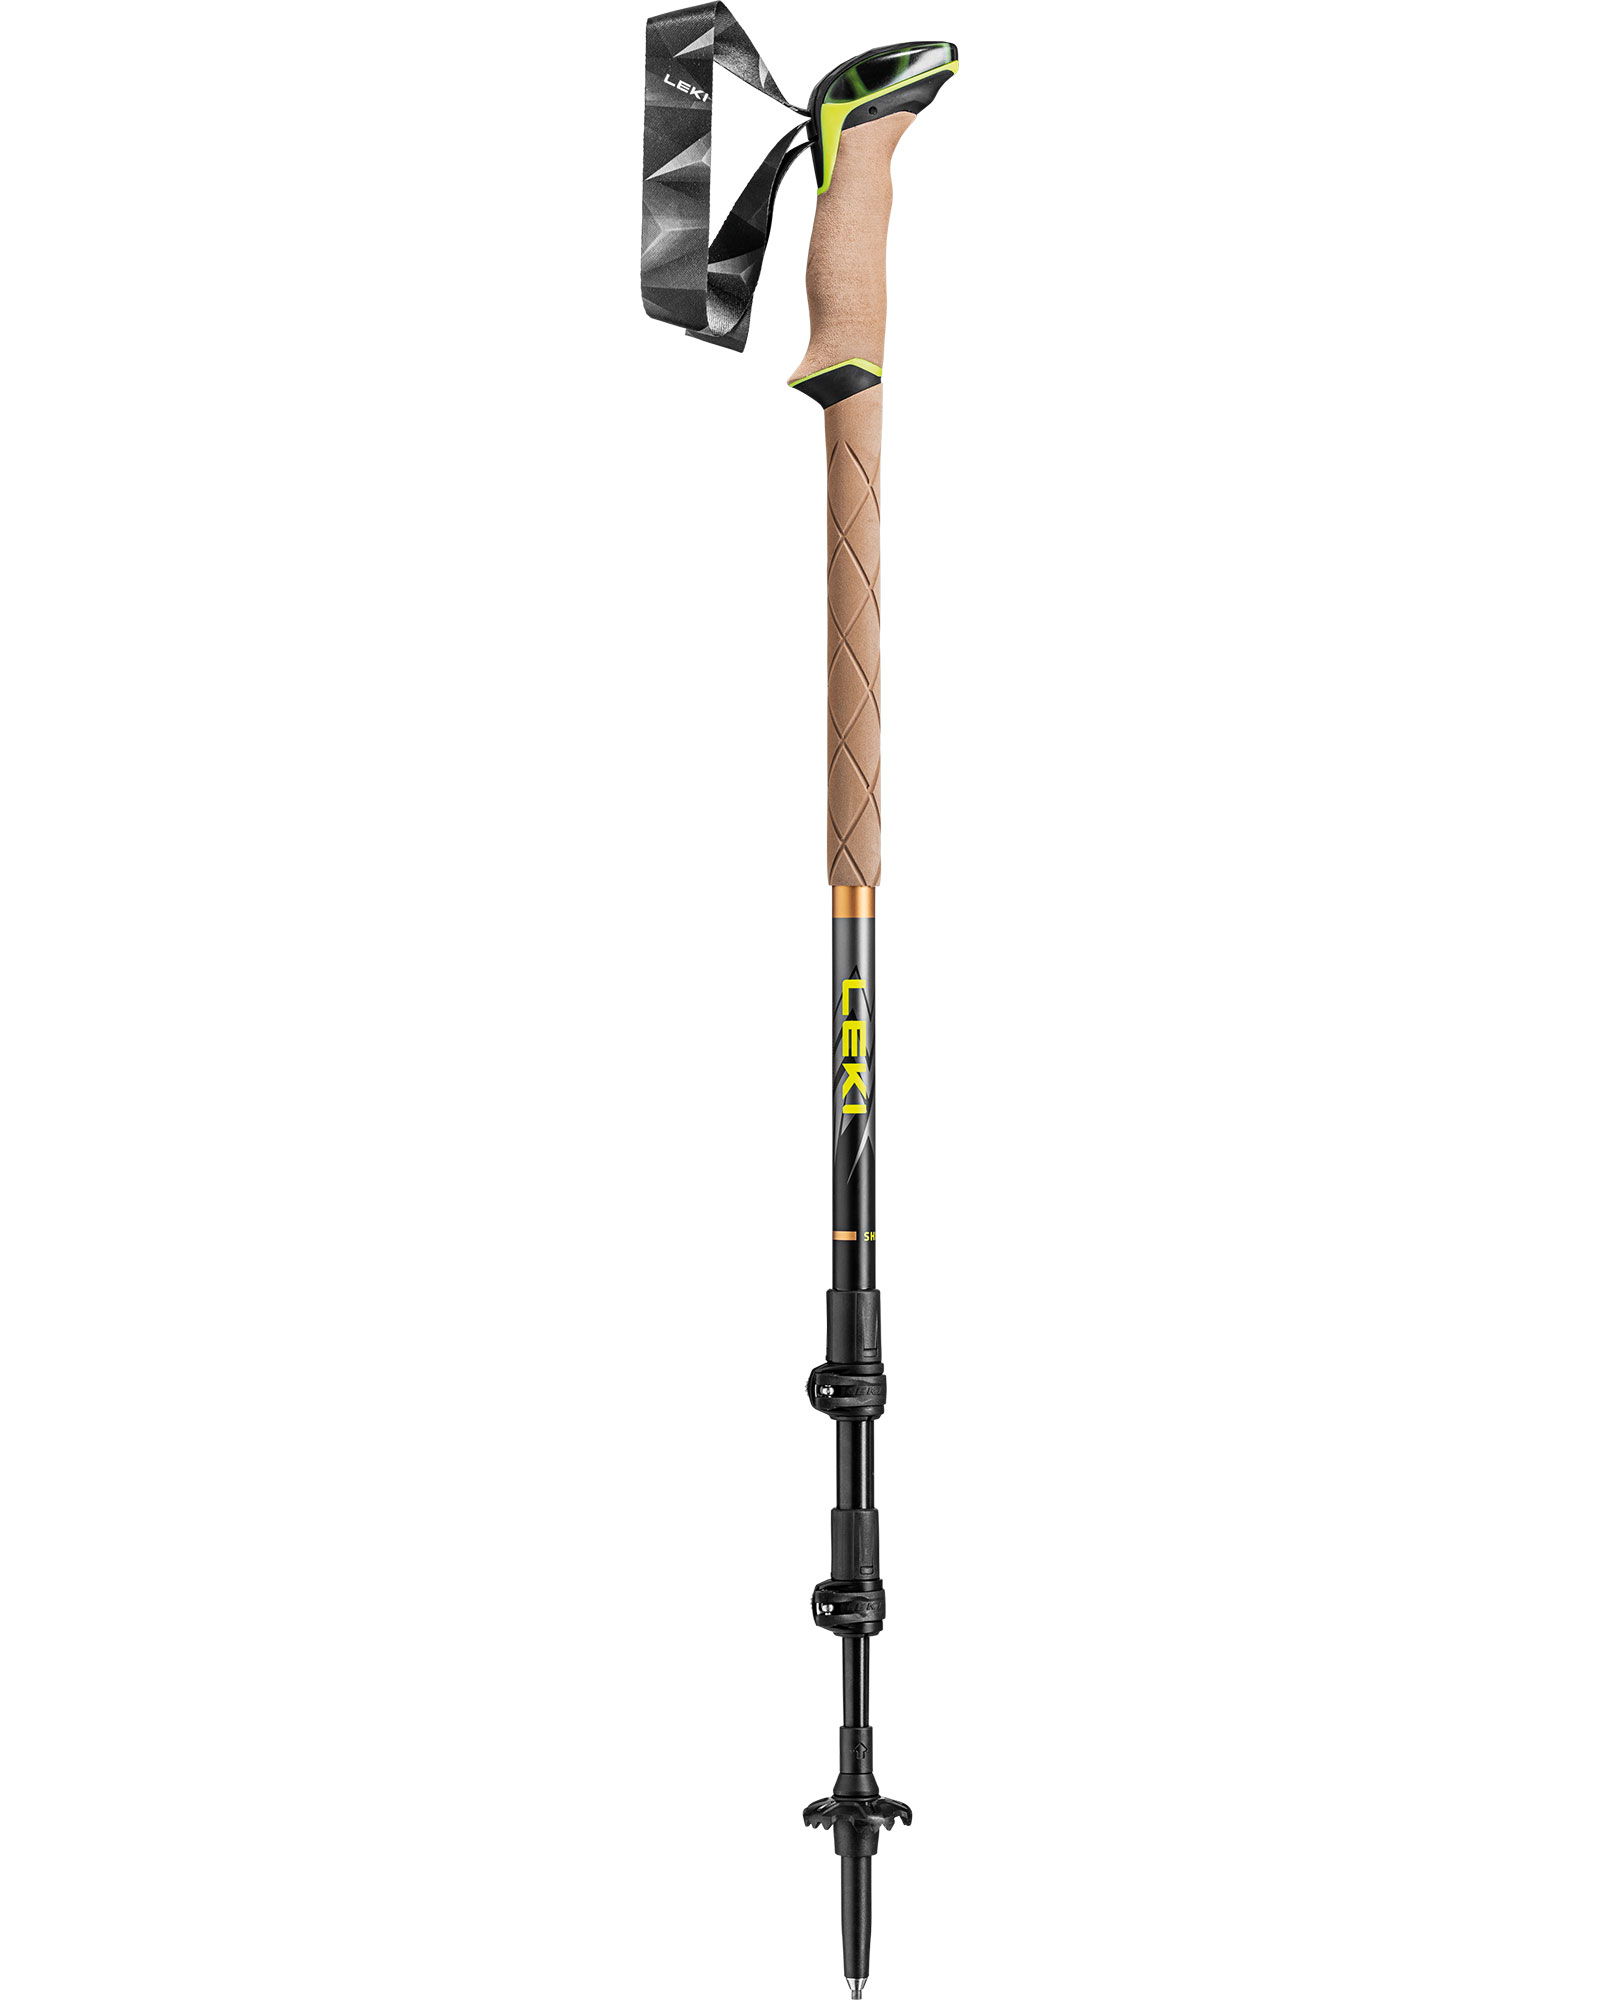
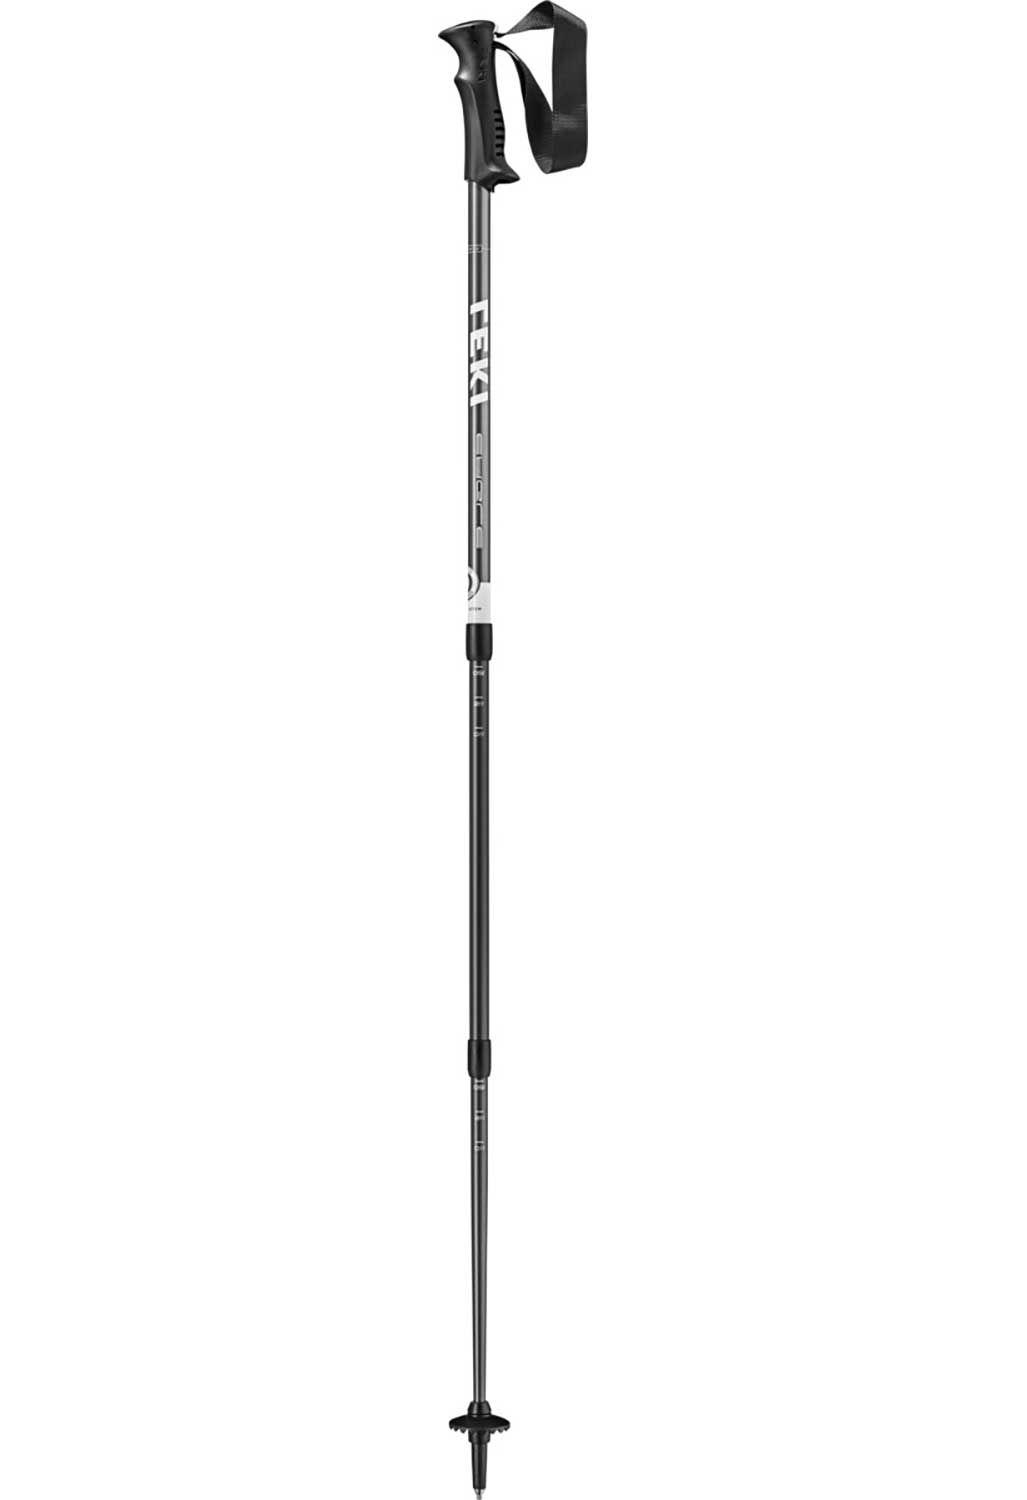
Walking Poles


Walking Footwear
When it comes to hill walking, few elements are as important as selecting the right walking boots or shoes for your adventures. We have plenty to choose from so you can get the right fit and style for what you need.
Superfeet Insoles
Feet are the foundations of your entire body, and any misalignment can disturb the complex superstructure above. This can cause foot, knee, hip or neck pain that hampers your outdoor lifestyle.

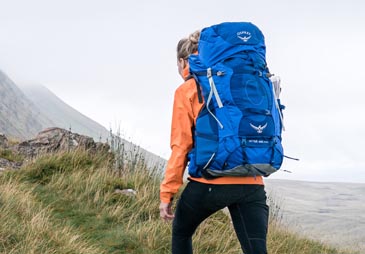
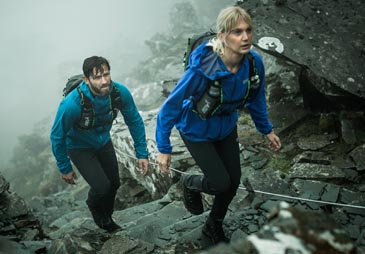
Backpacks
A key item on your kit list should be your rucksack or backpack, choose the right one and you'll experience comfort and reliability day after day; choose the wrong one and it can make your life difficult.